Streaming to YouTube Live
So you want to be the next rising YouTube star? YouTube has made it possible for live streamers to get on board their biggest video-sharing platform. XSplit Broadcaster will power your live interaction with your subscribers and here, we’ll show you how.
- Enabling YouTube Live Streaming
- Sign In
- Set Up Your Presentation
- Set Up Your YouTube Live Output
- Start Your YouTube Livestream
- Scheduled Streaming
Enabling YouTube Live Streaming
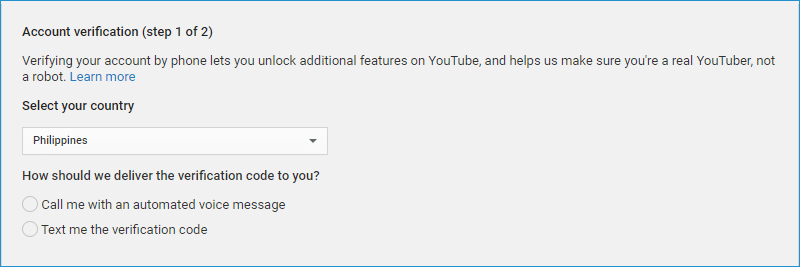
Before you get started, you will need to enable YouTube Live streaming. Confirm that your channel is verified and that you have no live stream restriction in the last 90 days.
- On the YouTube homepage, click the Create icon, and then select Go live.

- Go through account verification. Approval takes up to 24 hours. Once you are verified, you can start live streaming.
For more information on how to enable live streaming, refer to this guide.
Sign In
When launching XSplit Broadcaster for the first time, you'll be asked to Sign In or Sign Up for an XSplit account to use the app. Click the Sign In button if you've already created an account.
Once you've clicked sign in, the app will use your browser to authenticate your XSplit account so make sure that it is logged in on our browser site.

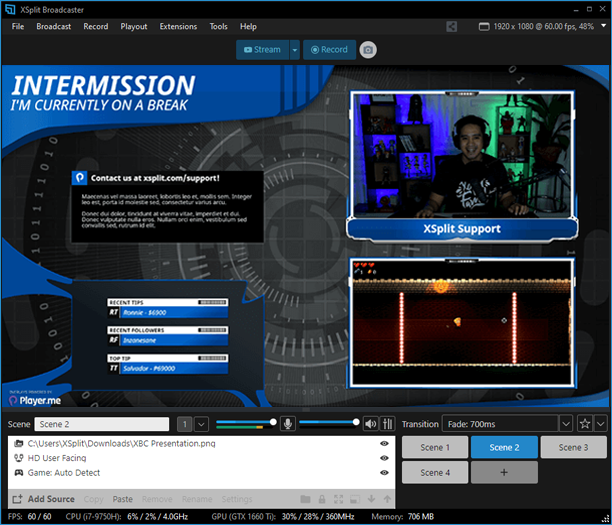
Set Up Your Presentation
Now, you’ll be brought to the main XSplit Broadcaster window. Here, you can add sources, which are anything that you want to present in your stream or recording such as your game, overlays, or Twitch widgets. You can learn more about adding Sources by clicking here.
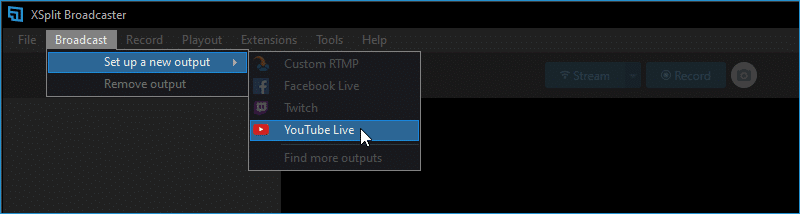
Set Up Your YouTube Live Output
Before we set up your YouTube Live broadcast on XSplit Broadcaster, you will need to enable the live streaming option in your YouTube channel first. Enabling this for the first time will require a 24-hour wait period before you can start.
If you have done that already, let’s now set up your YouTube output! Go to the Broadcast menu and select YouTube to configure it.
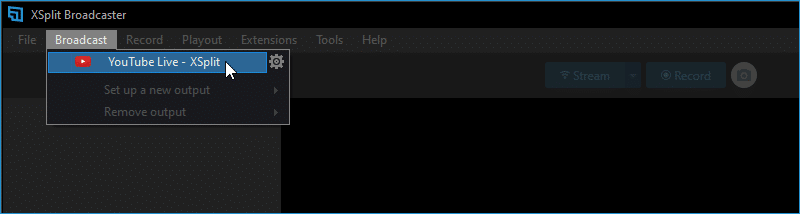
Start Your YouTube Livestream
You’re now ready to start a stream. Go on the Broadcast menu and select your created YouTube output.
Starting the output will open YouTube's Broadcast Details. This will let you fill in your live post details such as title, description, tags, and privacy.
YouTube Live Properties
ID
For your YouTube ID, click the Authorize button to register this detail.
Live Event
Set how you want to go live whether to stream now, new live event or scheduled live.
Title
Set a title that will appear on your livestream and archived video.
Description
Set a description for your livestream and archived video.
Tags
Add tags to help users search for your livestream and archived video.
Category
Set the category of your livestream for organization and target audience.
Privacy
Choose whether the livestream is publicly visible, unlisted or private.
Schedule
Displays the details of your scheduled live event.
Latency
Set whether the livestream is in normal, low, or ultra low-latency. Latency determines the amount of time before the the video appears on the YouTube livestream.
Enable DVR
Enable YouTube’s DVR feature that allows viewers to pause, rewind, and play from any point in your live event.
Use backup server
Choose to stream to the backup server in case you are experiencing issues with the default one.
Enable 360 video
Enable 360 video will allow viewers to explore your 360 video in all directions. Low-latency is not supported for 360 video.
Manual Transition
Enable Manual Transition to control the status of your broadcast from the YouTube Live Control Panel.
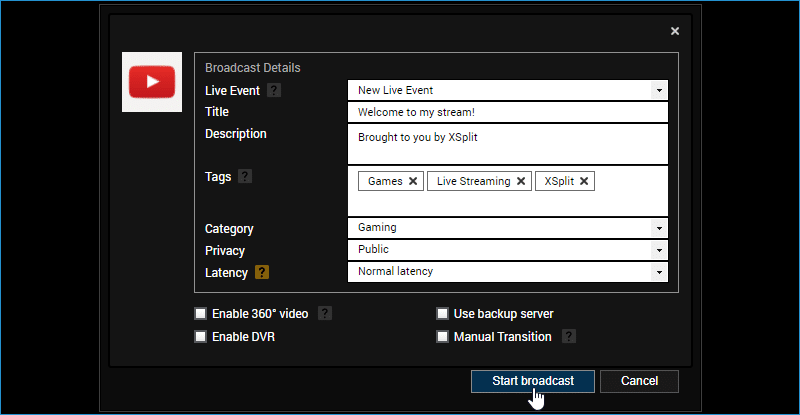
Click Start broadcast to go live.
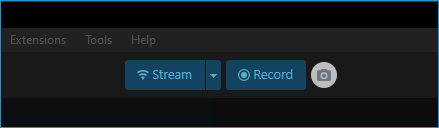
Alternatively, you can also start your stream by clicking on the Stream button at the top bar section of Broadcaster.
A red status bar should appear at the top of the XSplit Broadcaster application window showing that you’re broadcasting live.
Scheduled Streaming
A Scheduled Stream for YouTube Live can be used to generate anticipation and hype for your audience or for testing recurring programmed content.
Click here to learn how you can set up and start streaming to YouTube with a Scheduled Stream.
Updated on: 10/11/2025
Thank you!