Setting Up a Scheduled Stream on YouTube
In this tutorial, you will learn how you can create and start your own YouTube scheduled streams using XSplit Broadcaster.
- Setting Up a Scheduled Stream on YouTube
- Starting the Scheduled Stream
- Manual Transition
- Ending the Livestream
Setting Up a Scheduled Stream on YouTube
- Go to https://www.youtube.com and log in to your account.
- Click the Create icon at the upper-right portion of the page, then select Go Live. This will bring you to the YouTube Creator Studio.
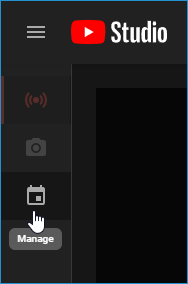
- Go to the left sidebar and click Manage.
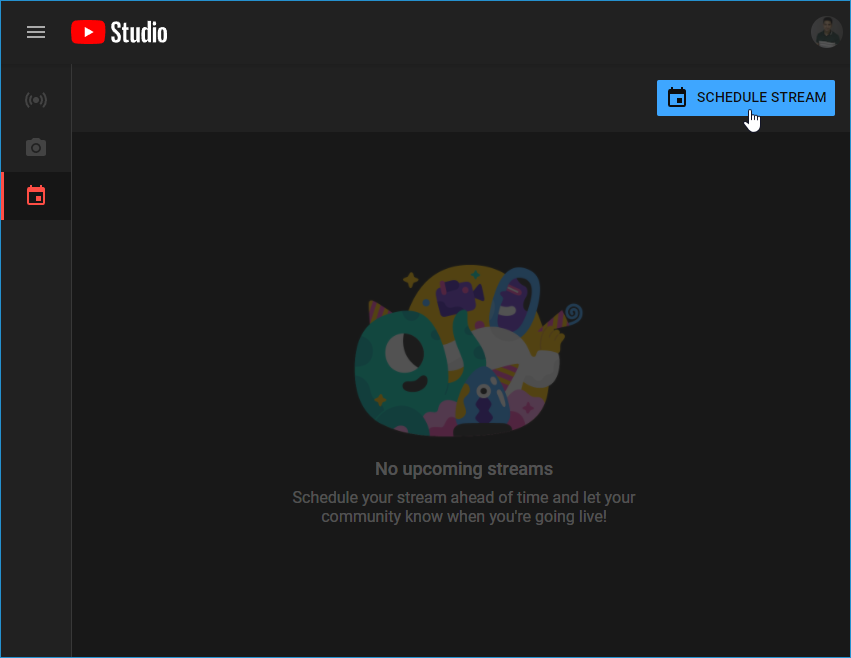
- Click Schedule Stream at the upper-right corner.
- Use the Create Stream dialog box to add details and other customization settings for your stream.
Details
Here you can enter your scheduled stream's title, description, and other information that will allow viewers to identify and find your stream more easily.
Customization
Allows you to change your stream's live chat settings.
Visibility
Here you can set your stream's privacy settings as well as the schedule.
- Click Done when finished. This will bring you to the Stream Setup page.
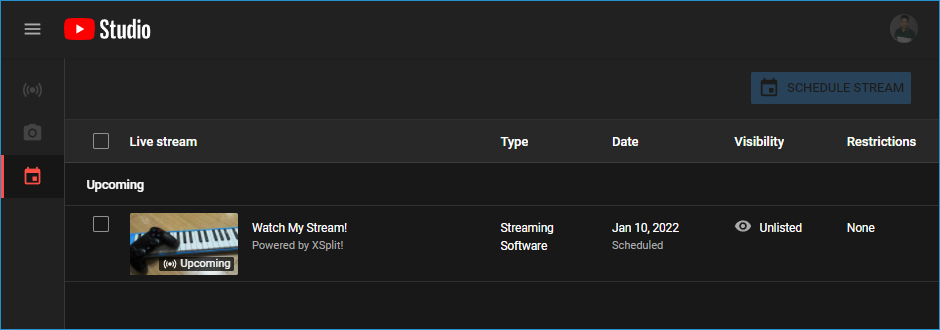
You have successfully created a Scheduled Stream, which you can access again at anytime by clicking Manage from the left sidebar of your YouTube Creator Studio main page.
Starting the Scheduled Stream
- Go to YouTube Creator Studio > Manage > Select your Scheduled Stream. This will bring you to the Stream Setup page for your selected Scheduled Stream. Let it sit there for now.
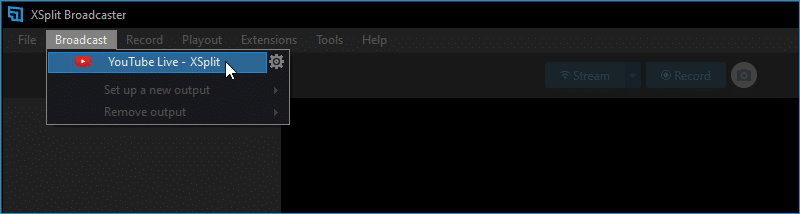
- Run XSplit Broadcaster. Go to Broadcast > Select your existing YouTube Live output. If you haven't created one yet, please click here to learn how you can create a YouTube Live output.
- In Broadcast Details, select your Scheduled Stream from the Live Event List. This will automatically populate the fields in the dialog box.
Manual Transition
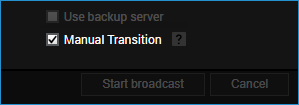
Manual Transition gives you more control over when the stream will actually start on YouTube's end, once you have started the broadcast from XSplit Broadcaster.
When Checked (default)
After clicking Start Broadcast, you will still be required to click the Go Live button from the YouTube Creator Studio to start the stream.
When Unchecked
Clicking Start Broadcast will automatically start the stream without the need to manually click the Go Live button from the YouTube Creator Studio.
- Click Start Broadcast. The stream should start in accordance to your Manual Transition settings.
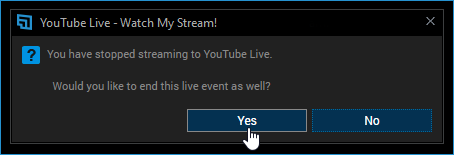
Ending the Livestream
- In XSplit Broadcaster, go to Broadcast > Select the active Livestream (in red)
- A confirmation popup will appear. When asked if you would like to end the live event, click Yes. Doing so also ends the associated stream on YouTube.
Updated on: 11/08/2022
Thank you!