Streaming or Recording your PC Games
XSplit Broadcaster is a great way to get creative with your streams and videos. It provides you with awesome features that will make streaming and recording videos convenient and easy. Here are some quick and easy steps to begin streaming and recording your PC Games on Broadcaster.
1. Adding your PC Game Screen
There’s a couple of ways you can capture your PC gameplay using XSplit Broadcaster. You’ll need to add it to your scene first through the Add Source menu.
Screen Capture
This option lets you immediately capture what’s on your monitor through Monitor while Apps will let you capture application windows on your Desktop.
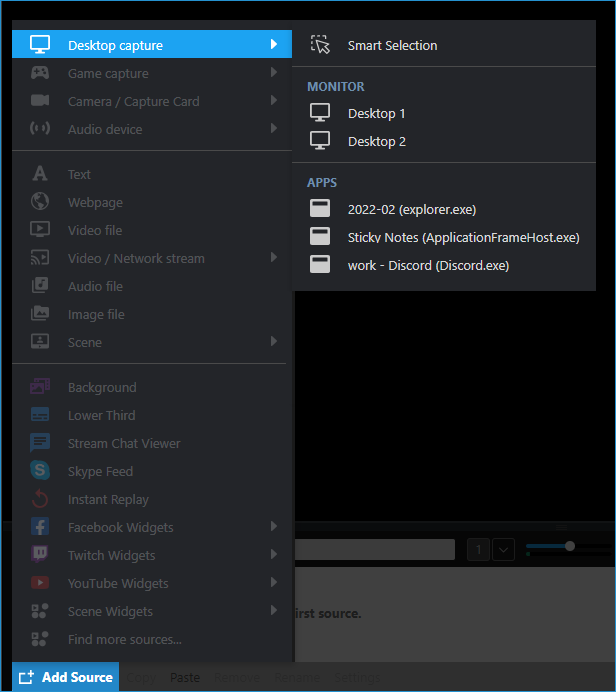
It works great if your PC setup has multiple displays and we suggest using Screen Capture if you’re trying to capture games that aren’t compatible with Game Capture such as browser games.
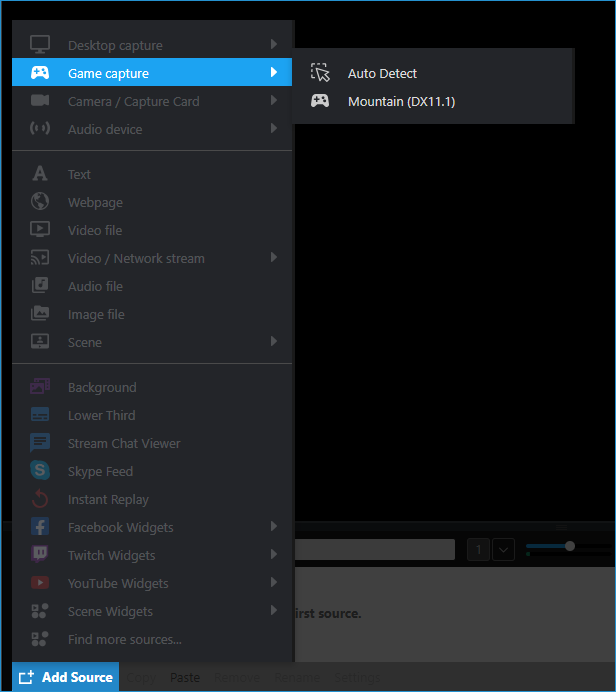
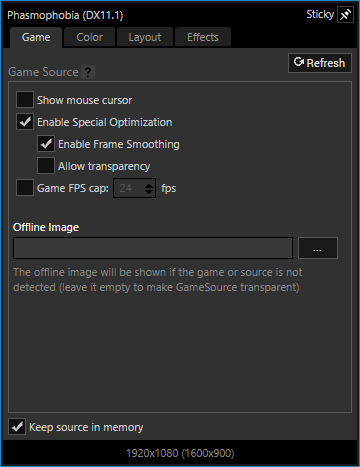
Game Capture
Game capture will automatically detect any game running on DirectX 9-12, Vulkan, or OpenGL and will be added to your scene right away.
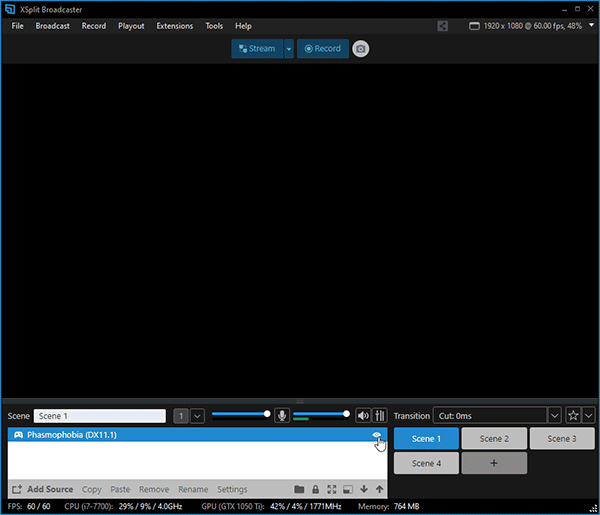
Once you’ve chosen how to capture your game, you can resize and position your game source on the stage.
2. Adding a Webcam Device (Optional)
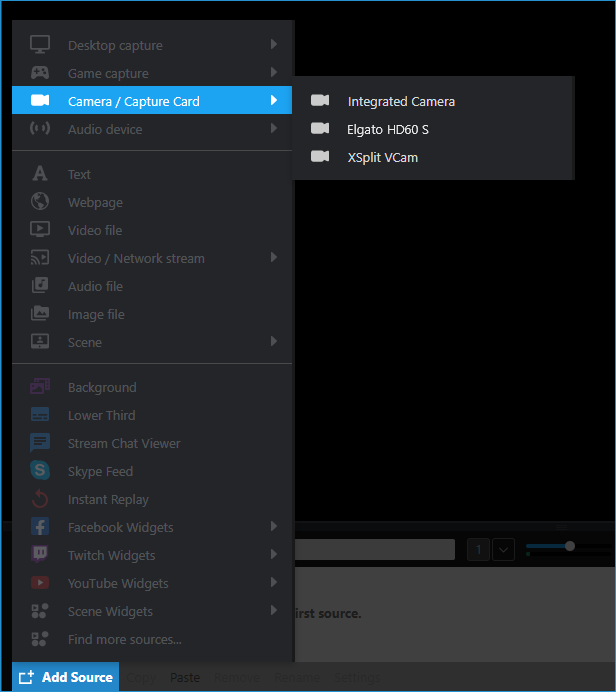
Next, you may also want to add a live video of yourself by using a webcam though this is optional. Go to Add Source > Camera/Capture Card and select your video device. Just the same as the game source, you can drag and resize your webcam source to set it on your stream.
Hiding Sources and Source Settings
To hide a source, just click on the eye icon next to it on the source list.
Right-clicking on your source will open the source settings window where you can change various settings and properties of the source. Selecting it from the source list then clicking on Settings will also make this window appear.
3.1 Livestreaming Setup
With your game and other sources added, you’re ready to set up your Broadcast outputs. First, go to Broadcast then Set up a new Output. Just select the streaming services you’ll be using and a setup wizard will be launched to help you create your Broadcast output.
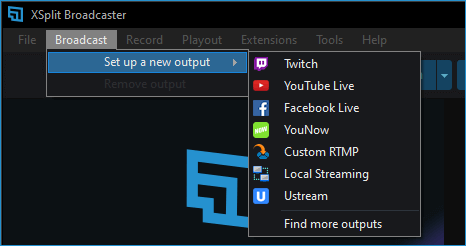
We have articles on how to set up your outputs for popular streaming services:
If you don’t see your preferred streaming platform, click on Find more outputs and you’ll be redirected to the Plugin Store where you can find more integrated broadcast outputs to install.
Starting your Livestream
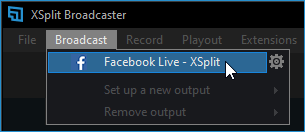
Once you've set up your broadcast output, click on Broadcast again and select the output you've created. A red status bar will appear at the top of the XSplit Broadcaster window indicating that you’re streaming live.
3.2 Recording
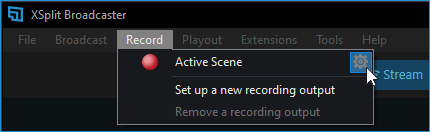
Choosing to record gives you the chance to edit it before uploading it to your gaming channel. To start recording, go to the Record menu then select Active Scene. This will record whatever scene is active or showing in the preview.
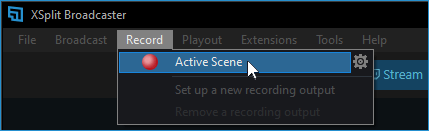
You’ll also be able to stop and pause your recordings through the same menu as well.
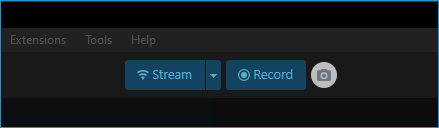
Alternatively, you can click the Stream or Record buttons at the top bar to start either of your mainly selected stream and recording outputs.
Recording Properties
Clicking the gear icon beside Local Recording will open up your Local Recording Properties.
Updated on: 11/11/2025
Thank you!