Streaming to Twitch
XSplit has always been the gateway for streaming games and major live production events on Twitch. Here’s our guide on how to start streaming to one of the most popular platforms online.
- Sign In
- Set Up Your Presentation
- Set Up Your Twitch Output
- Start Your Twitch Livestream
- Twitch Stream Properties
Sign In
When launching XSplit Broadcaster for the first time, you'll be asked to Sign In or Sign Up for an XSplit account to use the app. Click the Sign In button if you've already created an account.
Once you've clicked sign in, the app will use your browser to authenticate your XSplit account so make sure that it is logged in on our browser site.

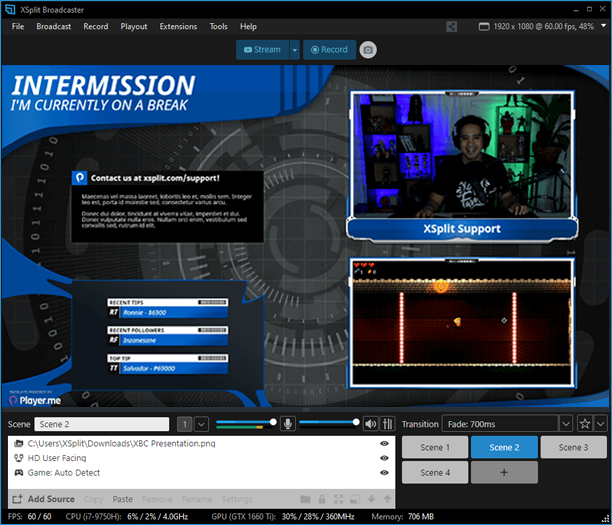
Set Up Your Presentation
Now, you’ll be brought to the main XSplit Broadcaster window. Here, you can add sources, which are anything that you want to present in your stream or recording such as your game, overlays, or Twitch widgets. You can learn more about adding Sources by clicking here.
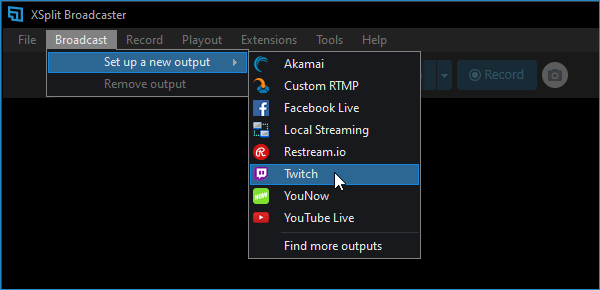
Set Up Your Twitch Output
After your sources are ready, let’s now set up your Twitch broadcast output. Go to the Broadcast menu, and select Set up a new output, then click Twitch. This will take you to a wizard that will easily link and authenticate your Twitch channel for streaming.
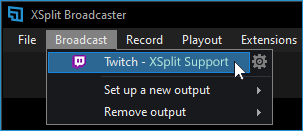
4. Start Your Twitch Livestream
You’re now ready to start a stream. Go to the Broadcast menu again and select your created Twitch output.
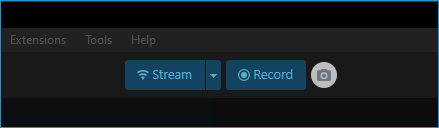
Alternatively, you can also start your stream by clicking on the Stream button at the top bar section of Broadcaster.
A red status bar should appear at the top of the XSplit Broadcaster application window showing that you’re live stream is running.
Twitch Stream Properties

Credentials
Choose between Web Authentication which saves your Twitch credentials after authorizing or manually inputting your Stream Key from your Twitch Dashboard.
- Web Authentication (Recommended)
Selecting this option will let you authorize your account using your Twitch login. This option is selected by default.
- Account
Your Twitch account, click on Authorize button to register this detail.
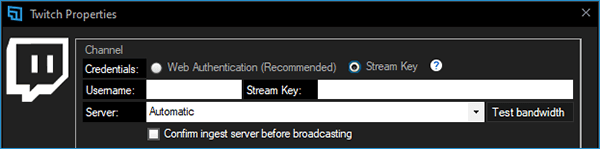
Stream Key
Selecting this option allows you to input your Twitch username and stream key manually.
Username
The Twitch username of the account you will stream to.
Stream Key
The unique stream key is found under Stream Preferences in your Twitch Dashboard.
Server
Choose which ingest server to use. It is recommended to use Automatic or the server with the lowest ping timing.
Confirm ingest server before broadcasting
Allows you to choose the ingest server before you start livestreaming.
Video Encoding
Enable enhanced broadcasting (BETA)
Automatically sets up multiple client-side encodes at different bitrates and resolutions, similar to transcoding.
Click here to learn more and sign up for beta access.
Audio Encoding
VOD Track
Allows you to set a specific audio track that will be used in Twitch VODs.
Click here to learn more about Twitch VOD audio tracks.
Related Articles
Updated on: 11/12/2025
Thank you!