Enabling/Disabling Two-Factor Authentication
Having Two-factor Authentication (2FA) active in your account makes your account more secure.
With 2FA enabled, logging in your XSplit account will require you to enter both your password and a security code from your mobile phone’s authenticator app like Authy or Google Authenticator.
- Enabling Two-Factor Authentication (2FA)
- Signing in with 2FA Enabled
- Disabling 2FA on your XSplit Account
Enabling Two-Factor Authentication (2FA)
- Log in with your account on the XSplit website, then click Dashboard.

- Under Settings, scroll down to Two-Step Verification then click Setup Two-Factor-Authentication.

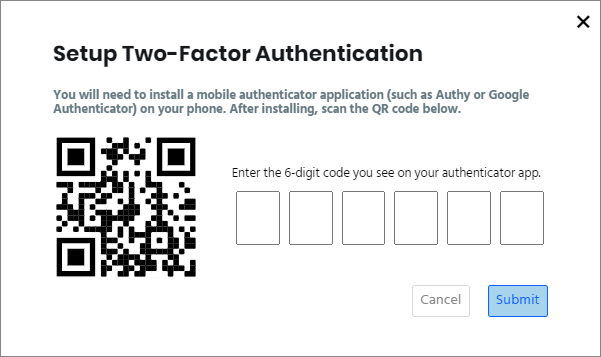
- The QR code will be displayed on screen. Using your mobile phone’s authenticator app (e.g. Authy or Google Authenticator), click the option to Scan a QR Code.
After a successful scan, your authenticator app will register your XSplit account and reveal a 6-digit code.
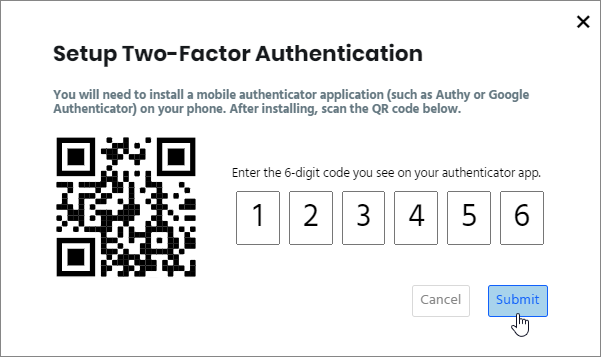
We recommend using Authy since it has multiple device support and allows you to recover your account in case you lose or get a new phone.- Enter the 6-digit code to the 2FA setup window and click Submit.
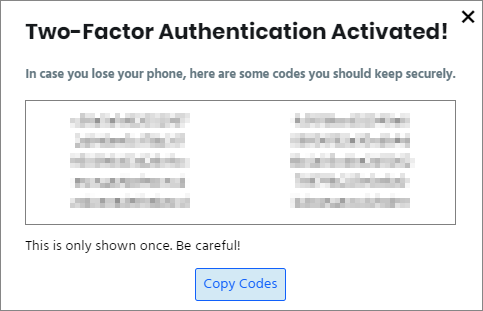
- A confirmation screen will appear indicating that your 2FA is activated. You will be given 10 backup codes for you to keep. This will serve as your alternative 2FA code in case you lose your phone.
Signing In with 2FA Enabled
- Go to www.xsplit.com then click Dashboard.

- Enter your XSplit email address then click continue. (Or login using your 3rd party accounts if you used any of these accounts to register)
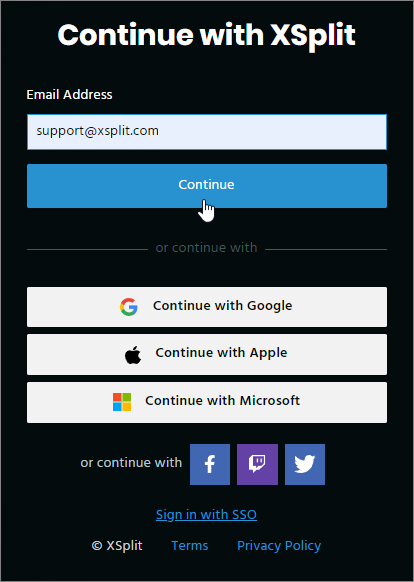
- You will receive a one-time code (OTP) via email. Enter the code then click continue.
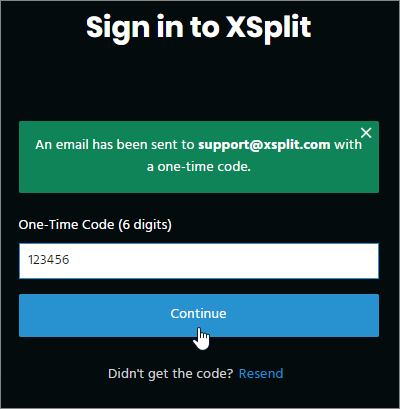
- Get the 2FA code generated by your authenticator app. Enter the code then click continue.
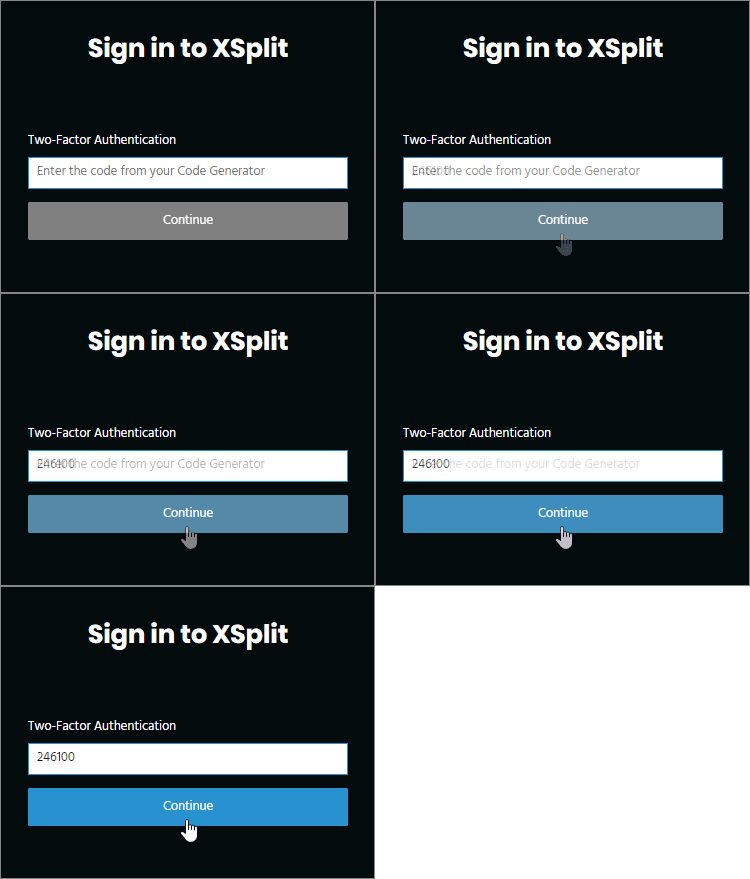
Disabling 2FA on your XSplit Account
- Login to your account through the Dashboard.

- Under Settings, scroll down to Two-step Verification. Click Disable Two-Factor Authentication.

- Click Send One-Time Code to receive an OTP via email.
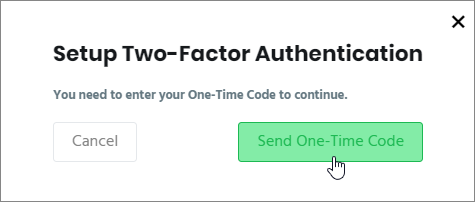
- Get the 2FA code generated by your authenticator app. Enter the 2FA code in Security Code, and the OTP code you received from your email in One-Time Code. Once both codes are entered, Click Disable 2FA.
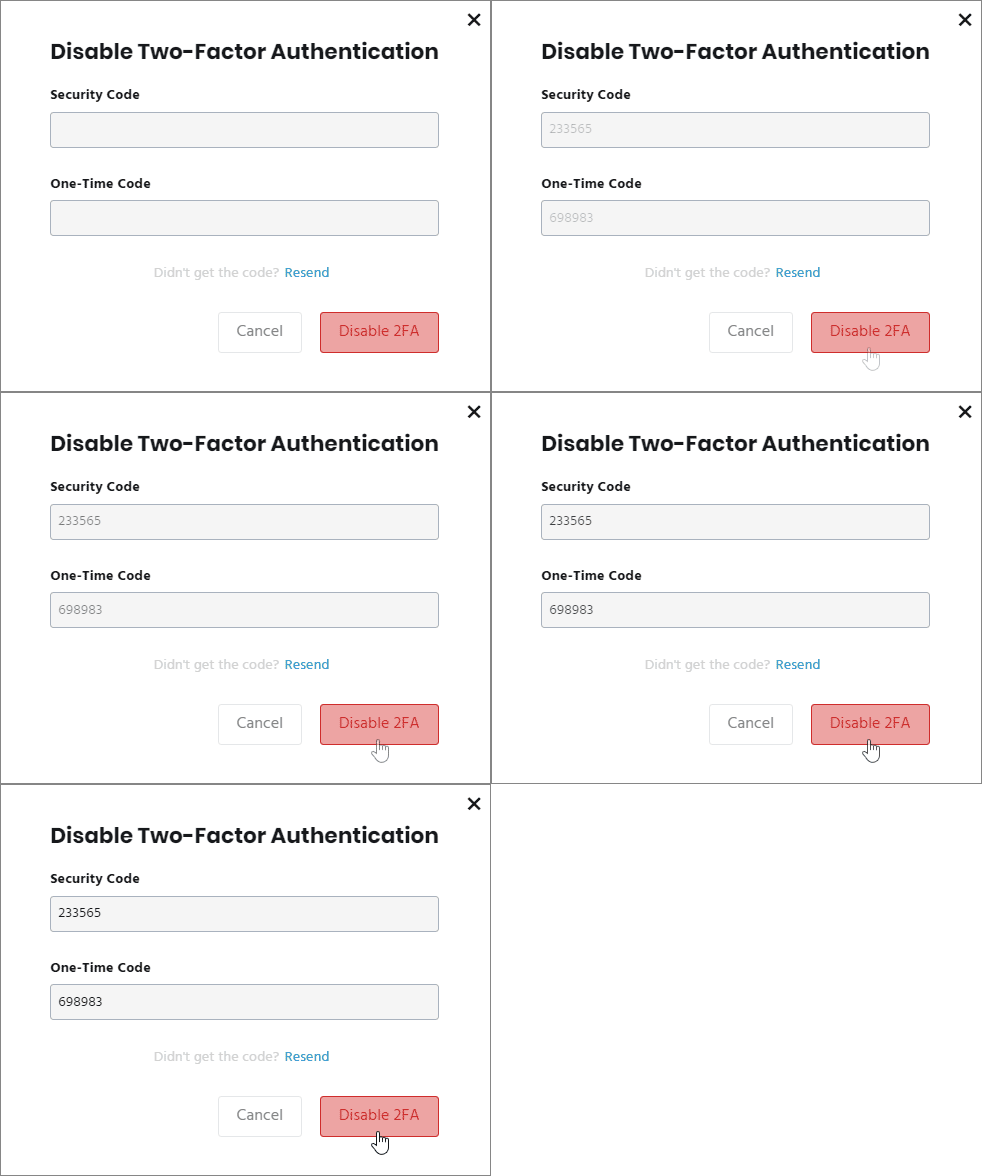
- You will receive a confirmation message at the bottom of the page.

Updated on: 12/10/2022
Thank you!