XSplit Broadcaster Advanced Tips
While streaming setups can vary greatly, the tips provided here apply to a wide variety of users.
Webcams vs Camcorders
Chroma Key Recommendations
Thumbnail Scene Preview
Preview Editor Window
Image Slideshow and Video Playlist
Audio Setup Tips
Masking
Source Transitions
Stream Delay
Hotkeys
Web Page Source
Projector
Webcams vs Camcorders
Switching from a webcam device to a camcorder is one of the most common upgrades if you want better visual quality.
Camcorders has the ability to adjust a variety of options such as shutter speed, aperture, ISO sensitivity, etc. Camcorders also have better performance with Chroma Keying and low light situations.
The only drawback to using Camcorders is the increased equipment requirements. You'll need to have a tripod, a capture card and extra cabling to effectively add it to your XSplit Broadcaster.
Chroma Key Recommendations
Chroma Key is a useful tool on improving your production. However, without the right conditions, it is easy to get a poor Chroma Key effect as seen below.
- You should have balanced lighting conditions when using Chroma Key as poor or harsh lighting will severely reduce the quality of the Chroma Key effect.
- Your backdrop should be as smooth as possible as creases create shadows that are hard to compensate for when adjusting your Chroma Key settings.
- It is also important to make sure that the subject is always on focus and manually set your white balance and exposure. If these settings are set to automatic, the Chroma Key effect might be affected.
- Always make sure that the subject doesn't wear any clothing or accessories that is a similar shade and color to your Chroma Key backdrop as they'll also be affected.
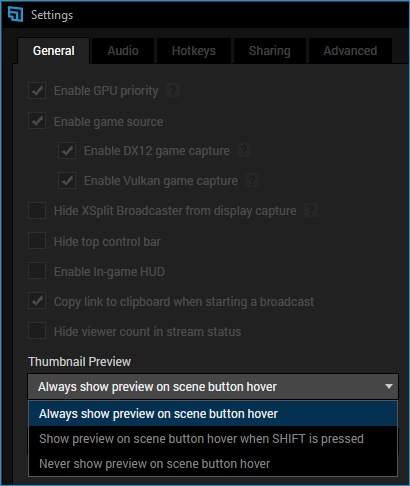
Thumbnail Scene Preview
Allows you to see that you are switching to the correct scene. To enable, you can go on Tools > Settings > General tab and change the Thumbnail Preview option
Preview Editor Window
As your broadcast becomes increasingly intricate, it is vital to know which scenes you are switching to and be able to edit scenes before switching to them.
Allows you to edit a scene before pushing it live on your stream. You can right-click any scene that you wish to edit and select Preview Editor.

You can make any kind of adjustments to any scene that you choose. Once you're finished, click Push Live and the Preview scene should be pushed live on your stream.
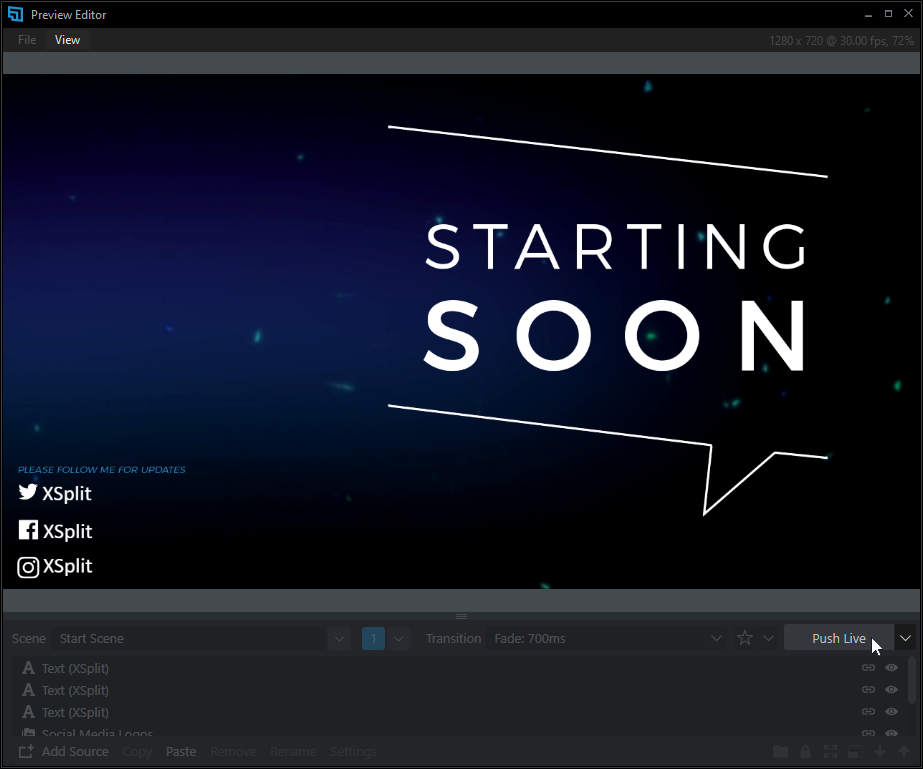
Image Slideshow and Video Playlist
Another feature is the Image Slideshow, Media Slideshow, and the Video Playlist source plugin which enables you to show sponsors' advertisements or various media during breaks. You can also apply custom transition and looping effects.
Audio Setup Tips
Audio setups can become complicated as your production becomes more advanced. If you want to use more microphone devices or have different video sources, you'll need to get an external mixer.
There is a wide variety of mixers that cost an equally wide variety of prices. However, most entry-level mixers can get the job done.
You must have enough inputs for your talents, system sound, and perhaps an extra input for video or music playback. Another useful feature would be the auxiliary outputs or talk back feature used to send the audio to your live audience.
Now that you've gotten your mixer set up, you'll need to send the audio from the mixer to XSplit Broadcaster. Some of the mid-range mixers have USB functionality that allows the mixer itself to be seen as a microphone input in XSplit Broadcaster. However, the most common method is to use a cable to send the mixer outputs to the microphone or line input of your PC.
Masking
Let's you clip the source to the shape of your selected mask. You can select a pre-defined shape as a mask such as rectangular, rounded, oval, and diamond. You can also select a file (.JPG, .PNG, .BMP, .GIF, and .TIFF files are the supported file formats).
To apply a mask, right-click on a source and go to the Effects tab:
- To use a pre-defined shape as a mask, click Shape then select your desired shape from the list.
- To use an Image file as a mask, click File then click on … to browse for your desired image:
- To remove the mask, click None.
Source Transitions
Source Transition is a useful feature that can help improve the quality of your production. This can be applied on most sources in XSplit Broadcaster.
To activate source transitions, right-click on a source and go to the Effects tab:
- In the Effects tab, you can apply a variety of transition effects and also control the speed of those transitions. To activate the transition, simply select it from the list.
- To deactivate the transition, set it to None.
Stream Delay
You can add a time delay on what you're currently streaming and what is being displayed publicly to your viewers by enabling stream delay.
This is usually used to avoid stream-sniping or ghosting when streaming games, so opponents couldn't get an unfair advantage over you by viewing your stream.
You can learn more about this feature here.
Hotkeys
Hotkeys are an often overlooked feature of XSplit Broadcaster. They allow you to expand your control set beyond mouse clicks. You can set Hotkeys by going on Tools > Settings then clicking on the Hotkeys tab. You can learn more about it here.
Web Page Source
Allows you to add webpages as sources. You can add a variety of sources and widgets to XSplit Broadcaster. Some of these use cases include follower notifications, chat overlays and much more.
Projector
Allows you to show your XSplit Broadcaster Preview window as a full screen output through your PC's graphics card. This is useful if you want to send a video feed to a projector device for your presentation.
You can also send multiple projector outputs if you have multiple outputs available on your PC. If you only have one available output, you can use a hardware splitter to send a duplicate of the video feed to another device.
Updated on: 02/09/2022
Thank you!