The XSplit Broadcaster Stage
The stage is the visual representation of the sources added to a scene. This is where you will be able to move and adjust your different sources among other things.
Adding Sources
You can add sources to your current scene from the Add Source menu.
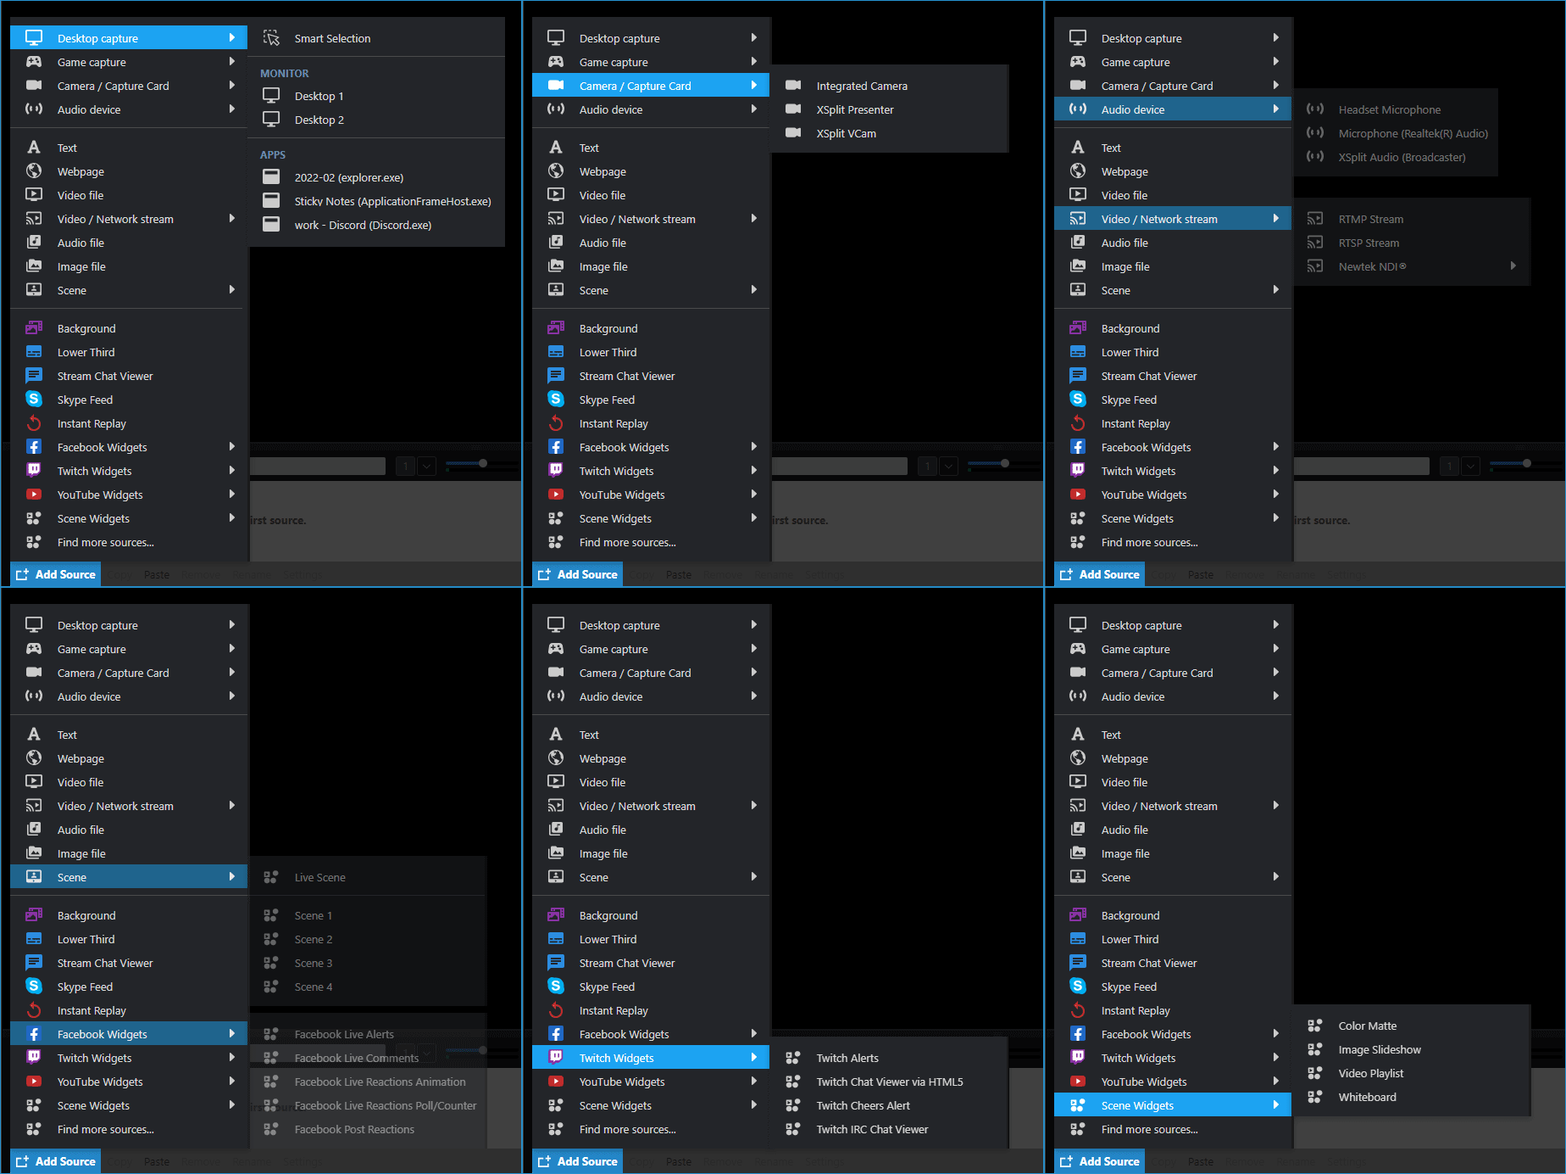
Click HERE to know more about the different Sources you can add.
Grouping Sources
The Group Sources button is a great organization tool, especially if there are plenty of sources added to your scene/s.

To do this, click to highlight the first source, then press and hold the shift key before clicking the next source/s. This will allow you to select and highlight more than one source.
Once that's done, click the Group Sources button to insert the selected sources to a new group.
Adjusting Sources
Using your mouse and keyboard, you can adjust the layout of your sources on the stage.
Moving Sources
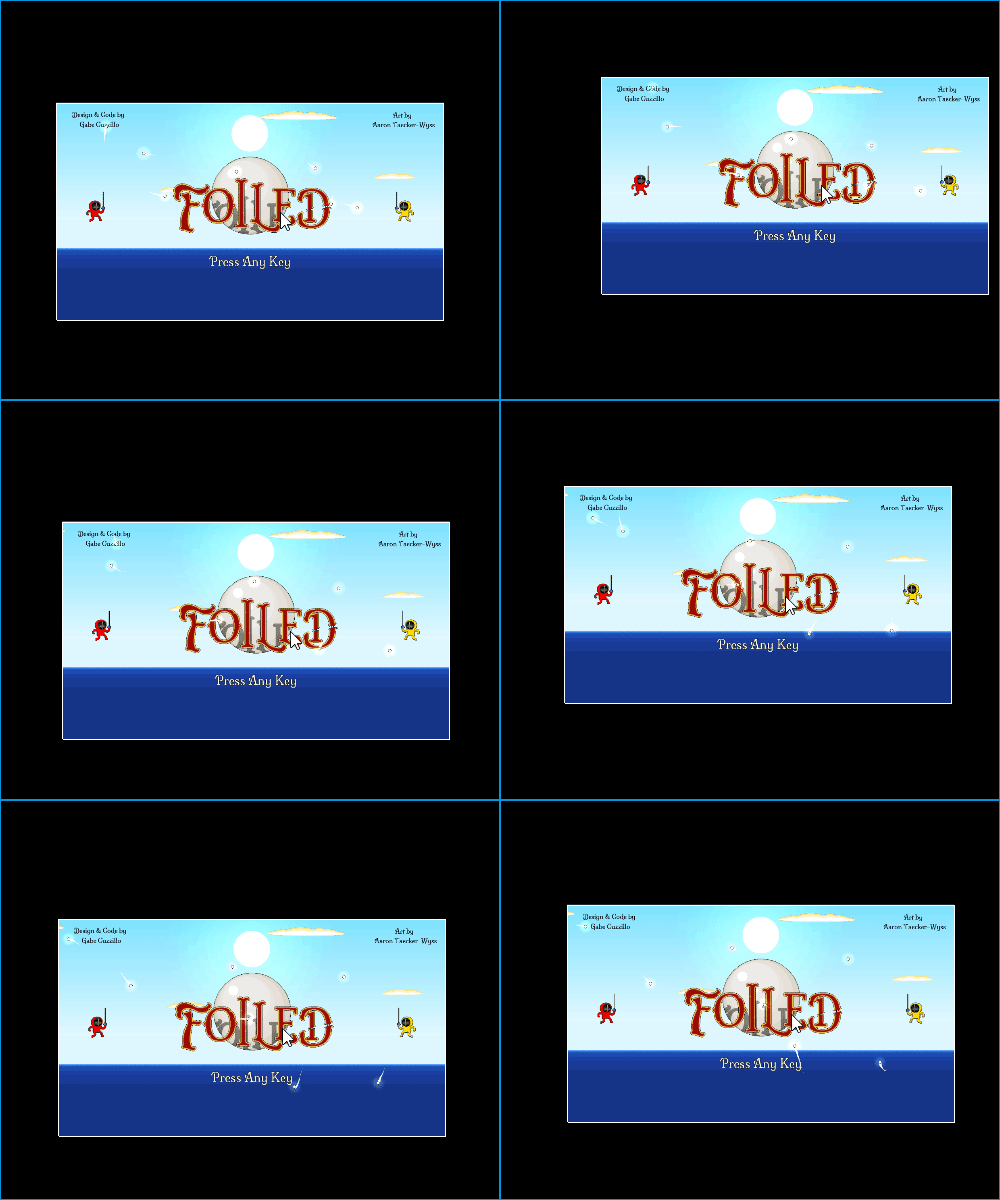
You can move sources by left-clicking and dragging them. You can also further adjust its positioning through the Layout tab of your source’s settings.
Resizing Sources
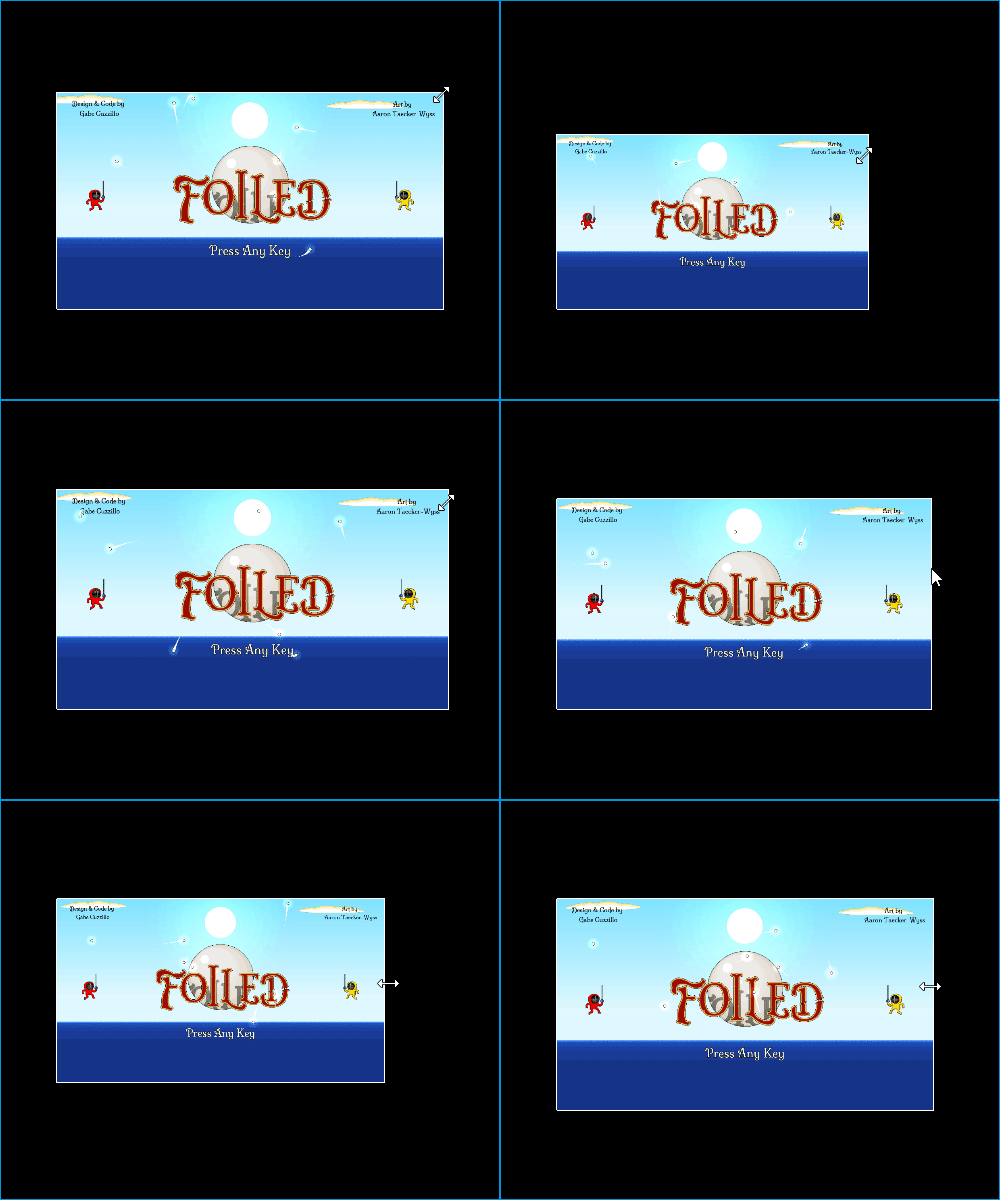
You can resize sources by left-clicking and dragging any of the edges your source. You can also further adjust its height and width through the Layout tab of your source’s settings.
Cropping
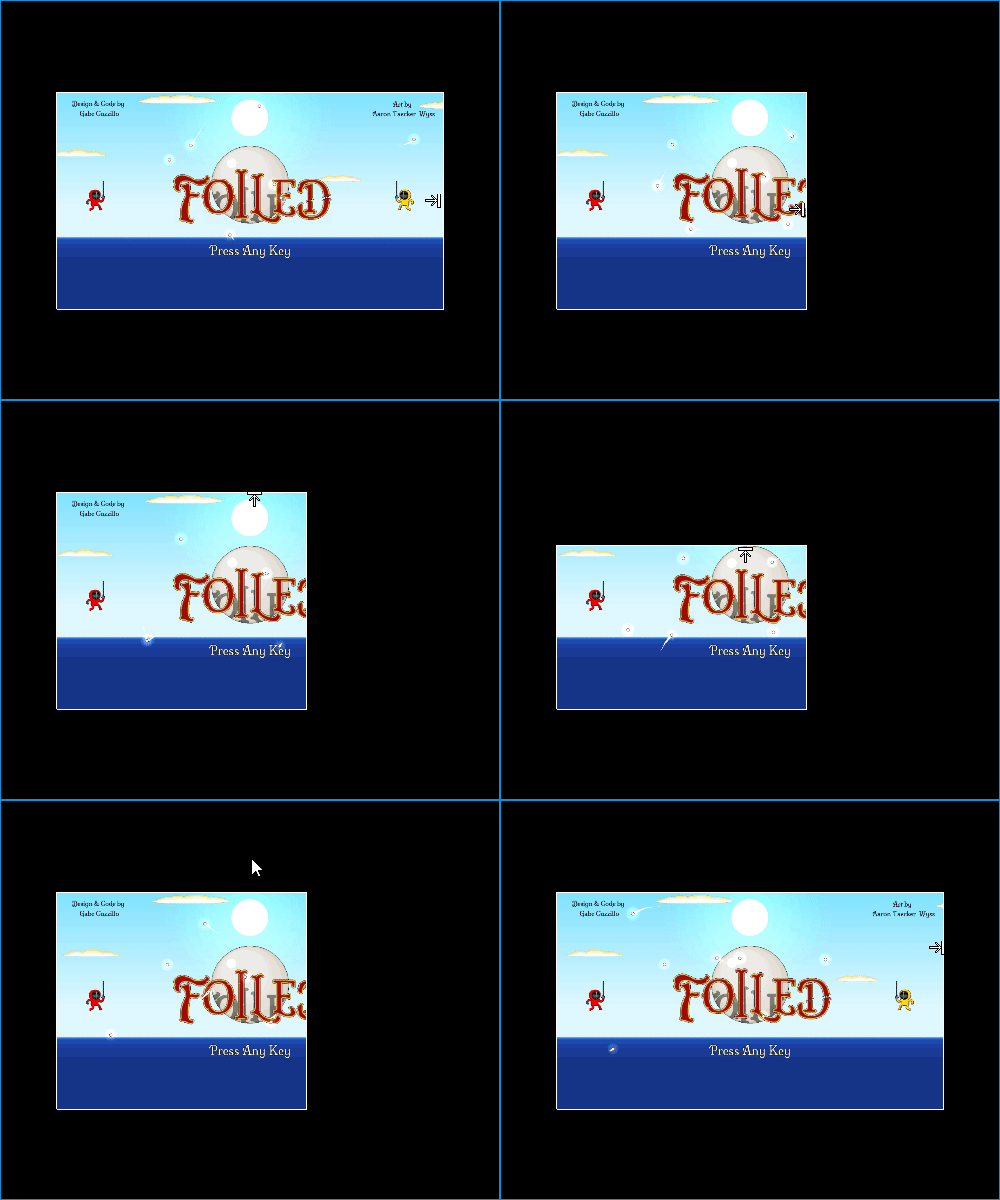
You can crop sources by holding down the Alt key then left-clicking and dragging the sides of a source. You can also further adjust its cropping through the Layout tab of your source’s settings.
3D Transform
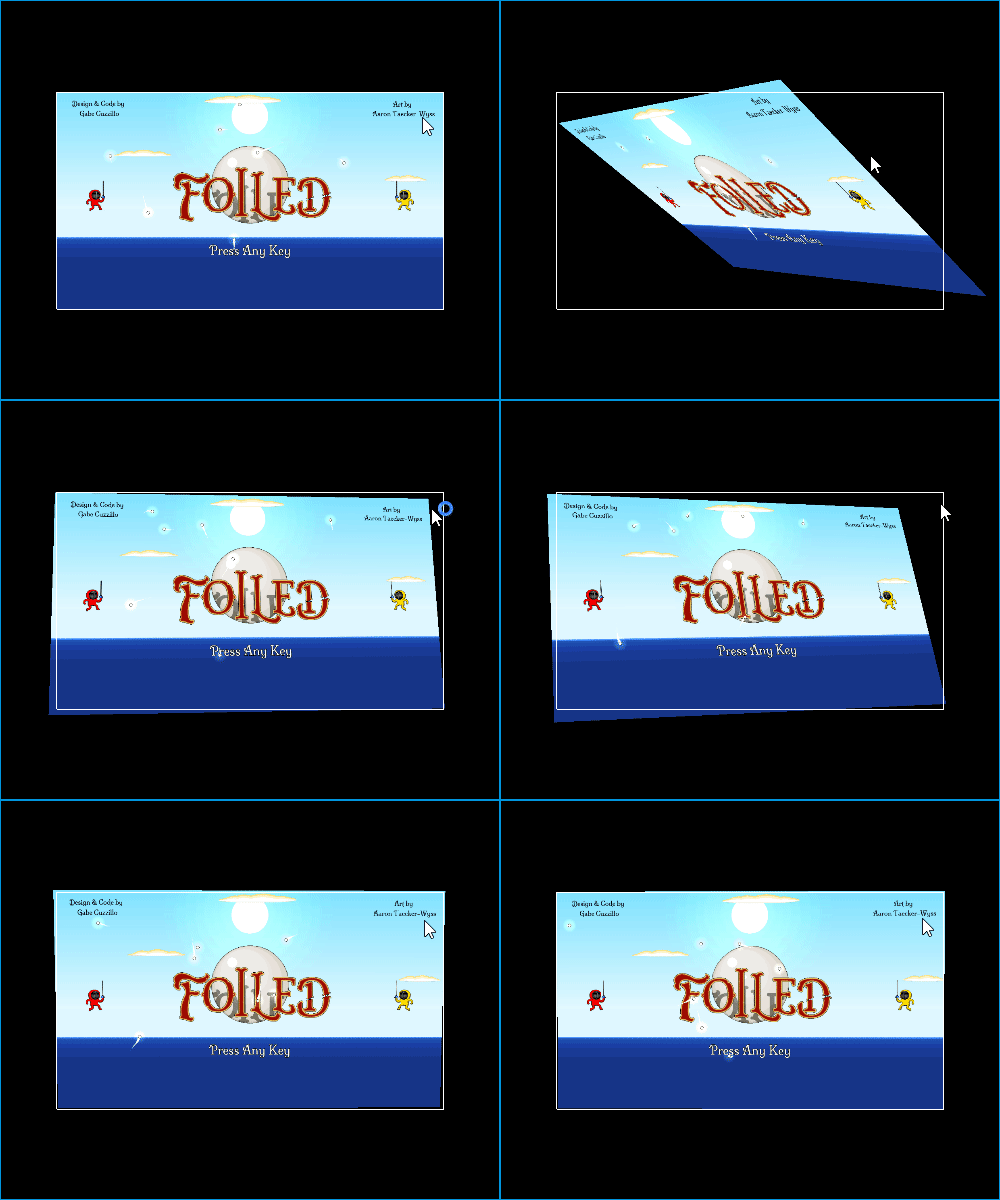
You can rotate sources along the X, Y and Z axes by holding down the Shift key then left-clicking and dragging the source. You can also further adjust its transform through the Layout tab of your source’s settings.
2D/3D transformed website sources will be unable to register mouse-clicks.
Stage Audio Controls

You can easily adjust and mute your audio through the audio controls found above the source list.
The volume range can be boosted up to 300% in your Audio Settings. (Boosted volume range shown in blue.)
Your microphone will always be muted if a Push to Talk hotkey has been set.
Stage Options
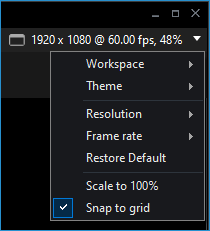
On the right side of the menu bar, you’ll be able to access different options such as changing your workspace type, stage framerate and stage resolution.
Workspace
There are two modes you can use for your workspace in XSplit Broadcaster – the default Classic Mode and Split Mode.
Classic Mode
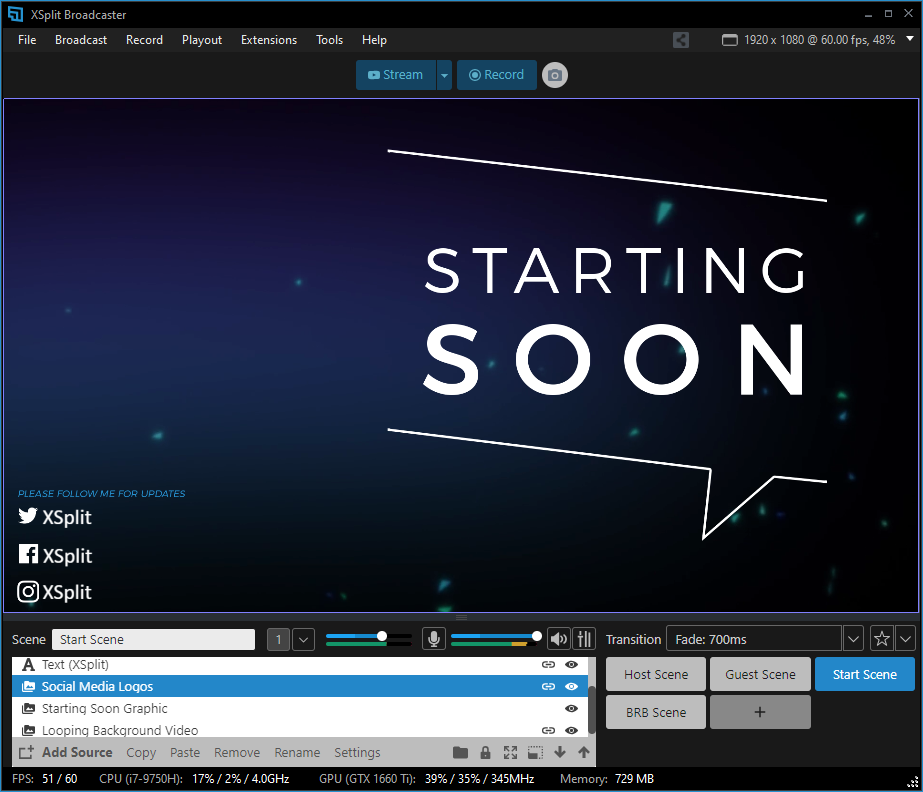
By default, XSplit Broadcaster’s workspace is set to Classic Mode. In this mode, the active scene displayed on your stage will be the one you work with as well as the actual output to your broadcast and/or recording.
Split Mode
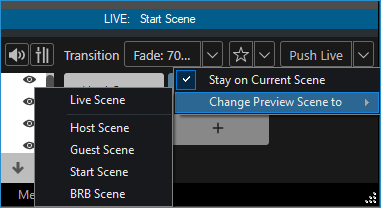
In Split Mode, the workspace will be divided between a Preview stage and a Live stage. You’ll be able to make changes to scenes in the Preview stage before you push them live to your broadcast and/or recording.
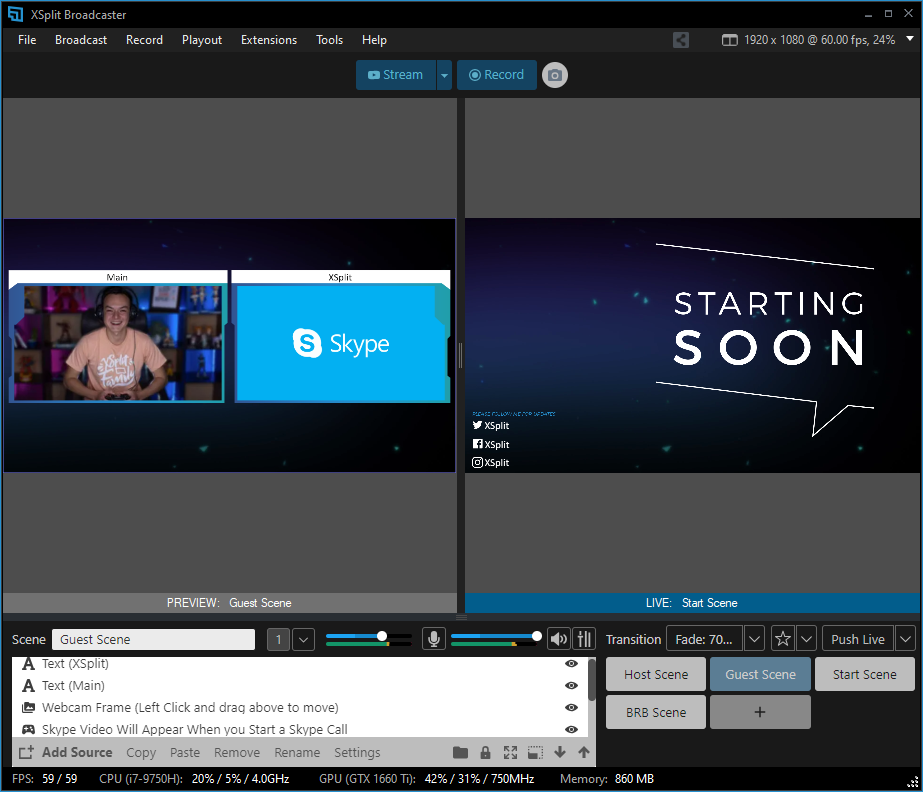
You can choose which scene will be set to the Preview stage after pressing the Push Live button through the drop-down beside it.
Stage Resolution
Here, you’ll be able to select your stage’s working resolution. Your streaming and recording resolutions will be the same as the stage’s resolution by default.
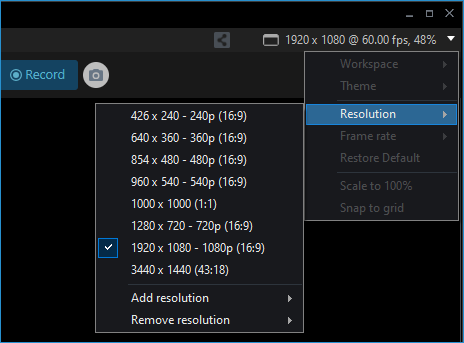
The default selection only offers various 16:9 resolutions but other commonly used screen resolutions can be added as well by going to Resolution > Add resolution.
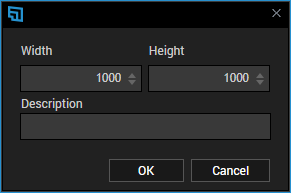
If you wish to use a non-standard resolution for your stage, go to Resolution \> Add resolution \> Custom… and a prompt will appear for you to input your desired stage resolution.
Stage Framerate
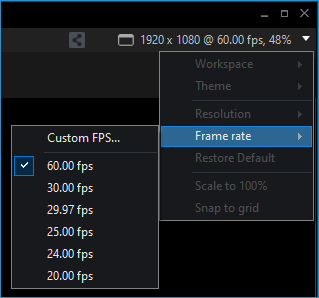
Here, you’ll be able to select your stage’s working framerate. Your streaming and recording framerates will be the same as the stage’s resolution by default.
Setting a custom framerate
- Go to Stage Options > Frame rate then click on Custom FPS…
- A prompt will appear for you to input your desired framerate.
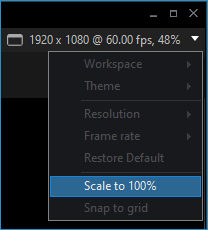
Scale to 100%
This resizes your XSplit Broadcaster window to scale with your current stage resolution.
Snap to Grid
This helps you position sources better as you move and resize them on the stage.
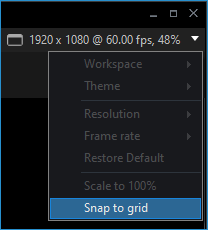
While resizing and moving around sources, they will automatically align and snap into place to the nearest intersection of lines across other sources and the stage. Line guides will appear to show you where the source you are adjusting is snapping to.

Updated on: 11/08/2022
Thank you!