Splitting and Re-routing Audio When Using XSplit Broadcaster
When XSplit Broadcaster captures your system audio, it will automatically capture all of it. It won’t be possible to select which application audio XSplit picks up. So, what if you don't want particular audio being captured on your livestream or video?
To do that, you’ll have to use a third-party audio mixer of your preference like Voicemeeter Banana which is free to download and is universally used. It will allow you to split your application’s audio from being captured on XSplit.
For example, you want to listen to your Spotify music while playing royalty free music to your viewers. At the same time, you want to be able to hear your Discord voice chat but not on your stream. Here are the steps you need to follow:
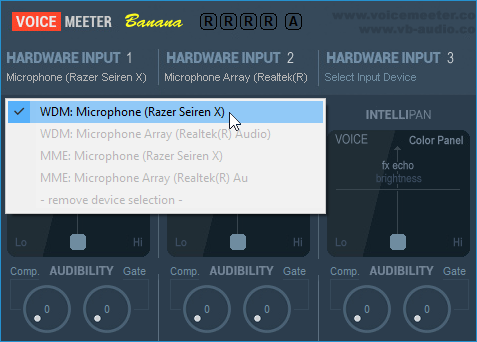
1. Add your Hardware Inputs
You can add your microphones, audio mixers or virtual cables as a Hardware Input by clicking Select Input Device below the Hardware Input and selecting the device that you want to use.
Once you’ve set a specific device, you can choose the Hardware Outputs or Virtual Outputs where you want it to be heard.
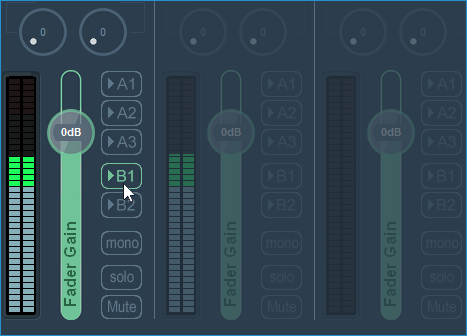
In the example, we want the Microphone to be heard on the stream, so we need to enable B1 to route it to VoiceMeeter Output.
2. Set your Virtual Inputs as Output
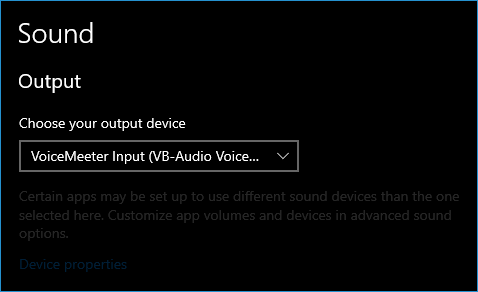
You can use these virtual inputs to split the audio of specific applications with your system sound. Normally, you can set VoiceMeeter Input as default speaker on your Windows Sound Settings.
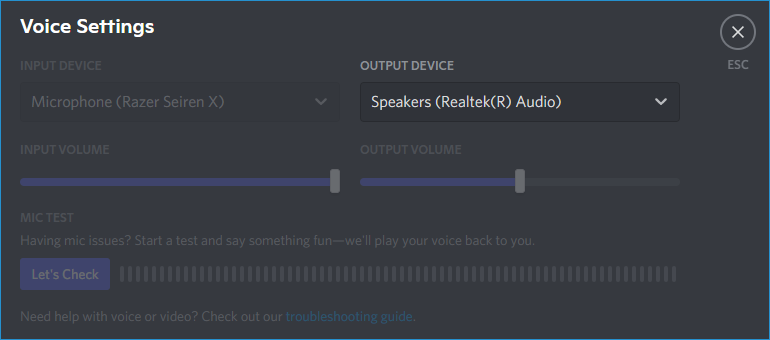
For the applications that you want to isolate from System Sound, you’ll need to set your headphones as output. In the example, we need to do this on Discord and Spotify since we want to isolate it from System Sound.
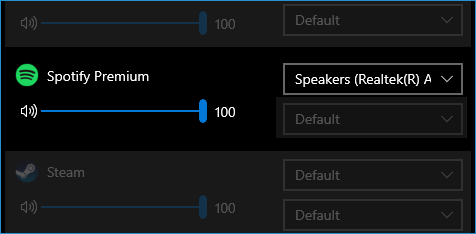
Some applications like Spotify don't have this option. If that is the case, you can go on Start Menu, open Sound Mixer Setting, and set the output for the application to your headphones.
For the applications that you want to be heard on the stream, you’ll need to set VoiceMeeter Aux Input as output. In the example, we need to do this on the Media Player where your playing the royalty-free music.
You’ll need to enable A1 under the VoiceMeeter VAIO Virtual Input so that the System Sound will be heard on your headphones, and B1 under the VoiceMeeter AUX Virtual Input since you don’t want it to be heard on your headphones.
3. Set your Speakers/Headphones as Hardware Out
You can add your speakers or headphones as a Hardware Output. This is where the audio from the Hardware and Virtual Inputs will be routed.

In the example, you only need to set your headphones as A1 under Hardware Out.
4. Set the Virtual Output on XSplit Broadcaster
You can use these virtual outputs and set them as Microphone in XSplit Broadcaster. Normally, you can set VoiceMeeter Output or VoiceMeeter Aux Output as Microphone.
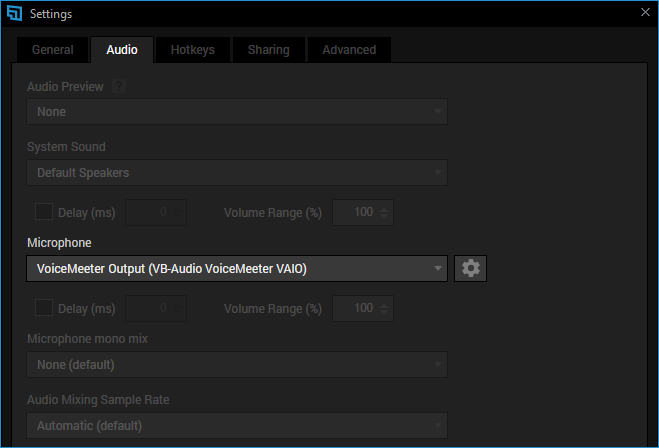
In the example, since your Microphone, System Sound, and royalty-free music is routed to B1, you need to set VoiceMeeter Output as Microphone on XSplit Broadcaster.
Updated on: 11/08/2022
Thank you!