Setting up Recordings and Screenshots
XSplit Broadcaster helps make content creation a lot easier with different options and features that it provides. Here’s how to set up and manage your Local Recordings and Screenshots.
- Setting Up Local Recording
- Local Recording Properties
- Starting a Local Recording
- Managing Your Recordings
- Setting Up Screenshots
- Managing your Screenshots
Setting Up Local Recording
By default, an Active Scene recording output will automatically appear once you've installed Local Recording.

Aside from your Active Scene, you can also record other scenes as well by going to Record > Set Up a New Recording Output, choosing your desired scene and clicking OK to create a recording output.
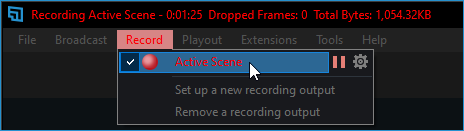
You can also remove recording outputs by going to Record > Remove a Recording Output and selecting the recording output that you want to remove.
To set up your recording, go to Record, click the gear icon beside the scene that you want to record to open the Local Recording Properties window.
Local Recording Properties
- Record Target will be the scene that you will be recording.
- Select a Codec for Video Encoding. The recommended codec are hardware codecs such as NVENC H.264 and x264.
- Quality level will determine the file size and the CPU or GPU usage needed for that type of recording.
- Audio Bitrate will determine the clarity of your recording audio.
- Create multitrack recording of microphone and system audio allows XSplit Broadcaster to record separate audio tracks for Microphone Audio and System sound.
Starting a Local Recording
On the Record menu, you can start or stop the recording by clicking the scene that you want to capture and pause the recording by clicking the pause icon.
Managing Your Recordings
To find where your recordings are stored, go to File > My Recordings.
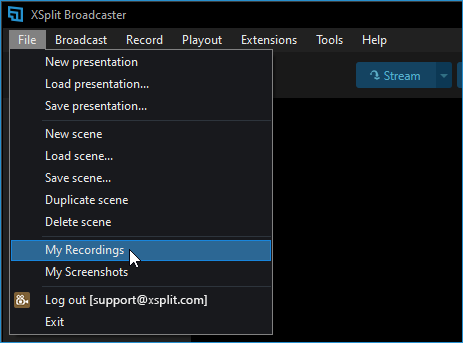
Both local recordings and automatically recorded broadcasts will be found here.

The Open Folder button opens your recordings folder in the File Explorer.
Changing the File Location
Click on … on the Location bar and choose a folder for where your recordings will be stored.

Uploading Recordings to YouTube
Choose a recording that you want to upload and then click the YouTube icon at the bottom-right corner of the Recordings window.

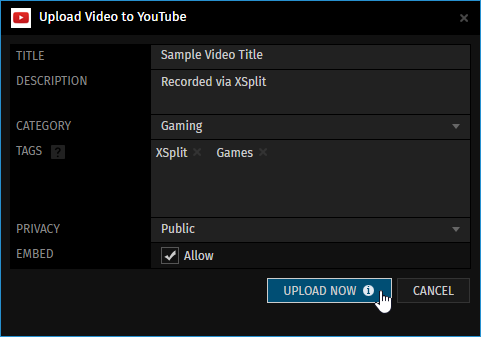
An Upload Video to YouTube dialog will be shown where you can enter the details for your YouTube upload.
When you're done, click UPLOAD NOW.
Title
Sets the title that will appear on your uploaded video.
Description
Sets the description that will appear on your uploaded video.
Category
Sets the category of your video upload for organization and target audience.
Tags
Add tags to help users search for your uploaded video.
Privacy
Choose whether the livestream is publicly visible, unlisted or private.
Embed
Allow an embed code for your video upload.
Sharing your Recordings
Clicking any of the social media icons lets you share a YouTube uploaded recording on their respective social media platforms.

Add Link
Allows you to add the YouTube upload URL in the custom message field.
Setting Up Screenshots
To set up screenshots, go to Tools > Settings. You can set up the file format for Screenshot Capture on the General tab and set a screenshot hotkey on the Hotkeys tab.
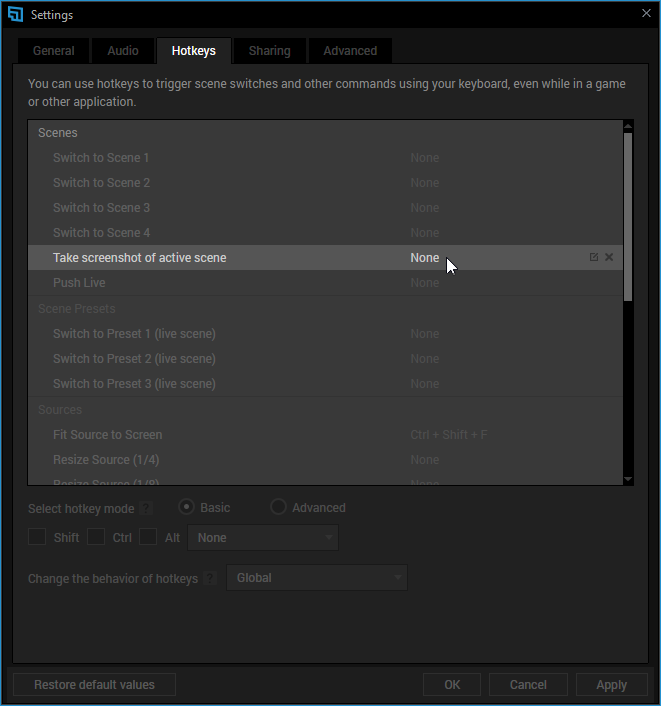
Pressing the Hotkey you assigned automatically triggers the screenshot function.
Managing your Screenshots
To find where your screenshots are stored, go to File > My Screenshots.
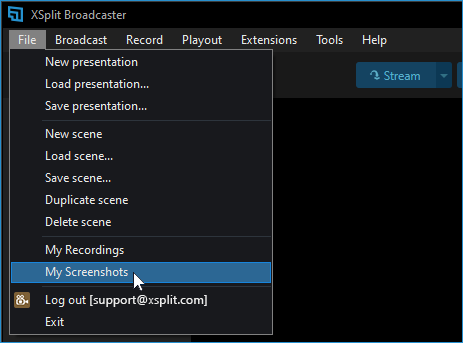
All screenshots taken with XSplit Broadcaster will be found here.

You can rename your selected screenshot by clicking the pencil icon and delete selected screenshots by clicking the trash icon.
Changing the File Location
- Click on … on the Locations bar and choose a folder for where your screenshots will be stored.

- The Open Folder button opens your screenshots folder in the File Explorer.
Updated on: 16/07/2024
Thank you!