Audio Mixer and Effects
XSplit Broadcaster features advanced audio tools for users who wants to be able to do more with their audio.
Audio Mixer
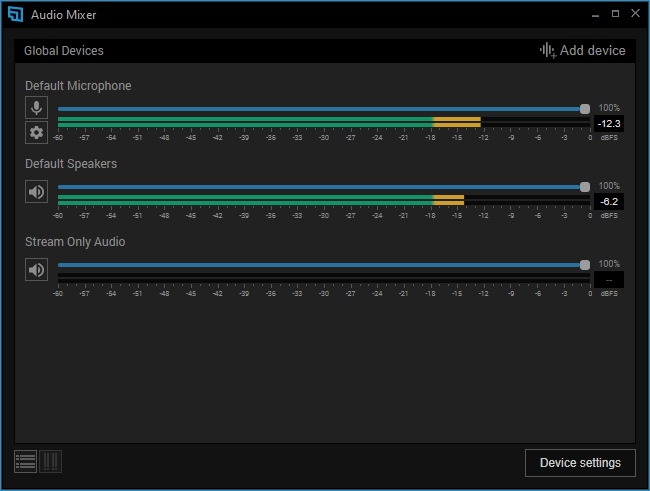
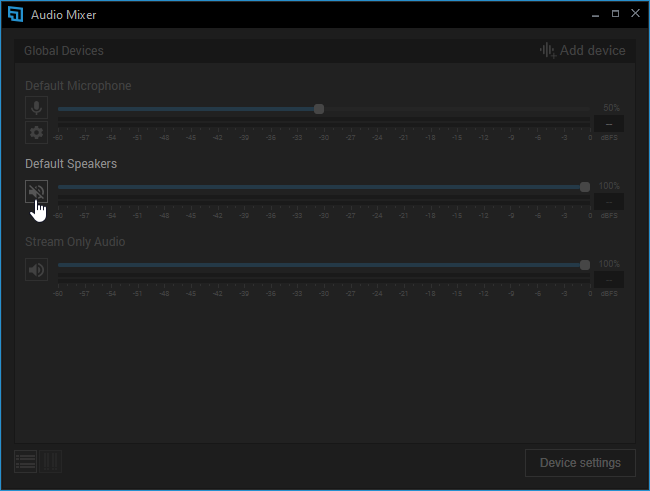
Monitor and adjust the audio levels of your devices individually.
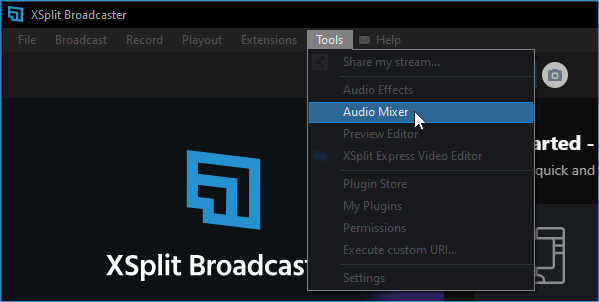
Go to Tools > Audio Mixer.
The audio levels are shown as dBFS (Decibel relative to Full Scale). It is recommended to keep it below the red range to prevent audio clipping or crackling noise.
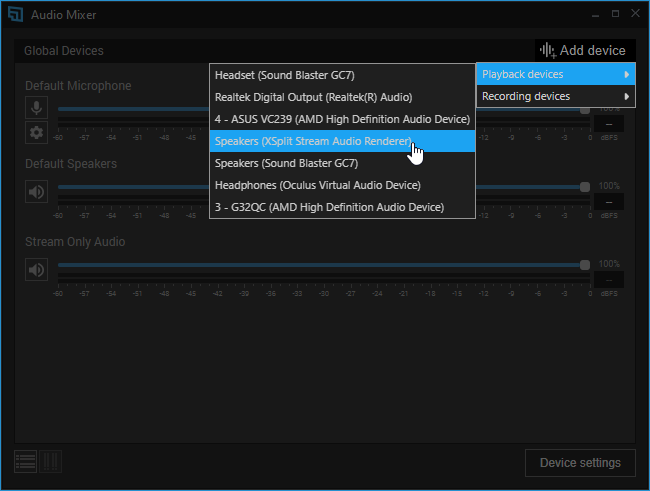
Add audio devices by clicking on Add Devices, selecting either Playback Devices or Recording Devices and choose the specific device that you want to add.
Adjust the volume slider based on your desired value.
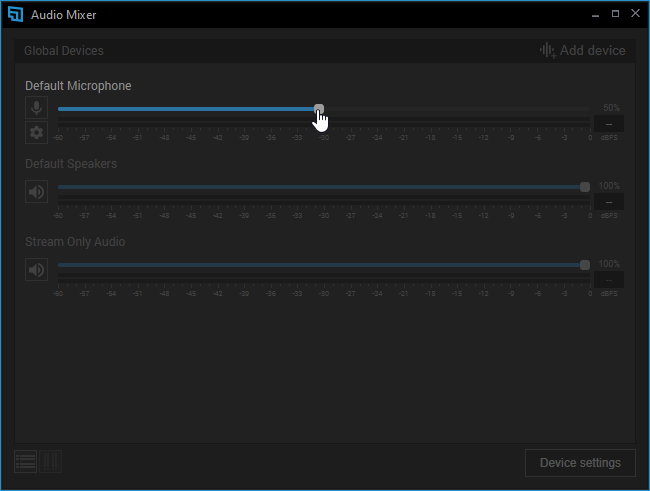
Mute any of the audio devices by clicking the Speaker or Microphone icon.
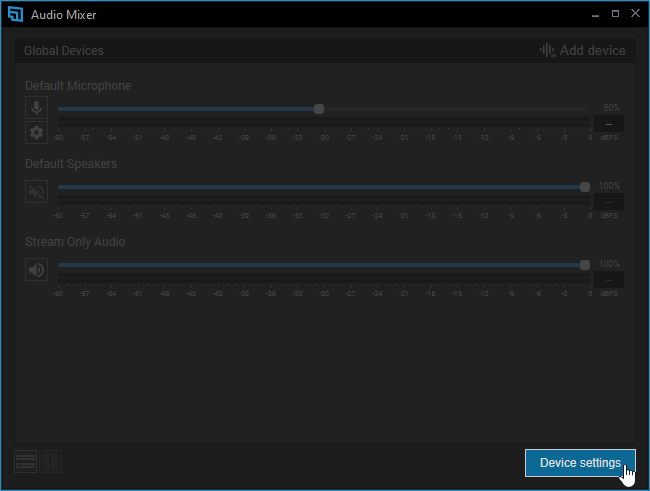
Configure your Audio Settings by clicking Device Settings. For more information, click here.
Audio Effects
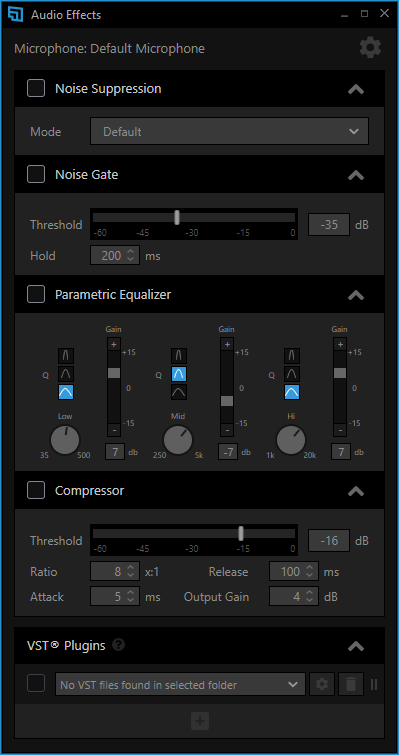
Apply different effects to enhance the quality of your audio input device. The Audio Effects properties can be accessed by either going to Tools > Audio Effects or by clicking the gear icon next to the microphone dropdown tool in the Audio settings tab.
Noise Suppression
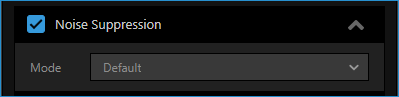
Remove background noise from your microphone by enabling Noise Suppression. It will detect the noise and eliminate it from your output. You can also choose NVIDIA Noise Removal if you have an NVIDIA RTX-series GPU.
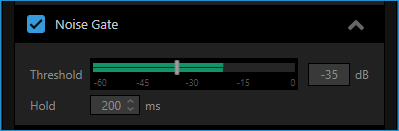
Noise Gate
In comparison to Noise Suppression which automatically detects the noise, the Noise Gate lets you manually set a threshold level which allows your audio to pass when above and blocks your audio when below that level.
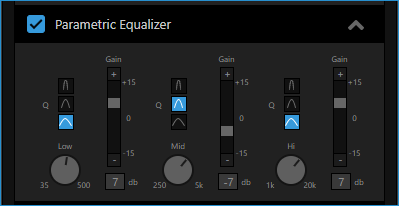
Parametric Equalizer
Parametric Equalizer gives you continuous quality control and balance of audio frequencies (Hi, Mid, and Low tones).
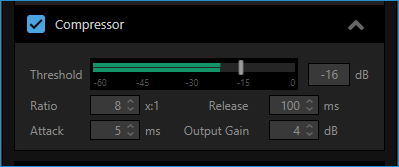
Compressor
Compressor allows you to manually set a threshold level so that all audio signals above the threshold will sound the same in loudness and the audio signals below it are unchanged.
VST3 Plugin
XSplit Broadcaster V4.2 or newer now supports VST3 Plugins.
Add your VST3 Plugin in XSplit Broadcaster by placing your VST3 files on the default location in _C:\Program Files\Common Files\VST3_ or set your own location.
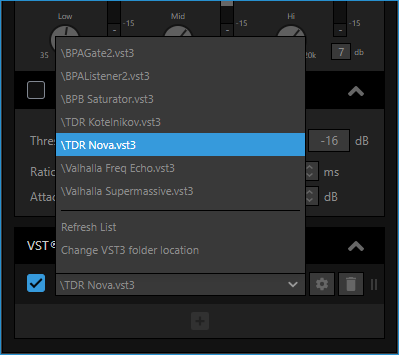
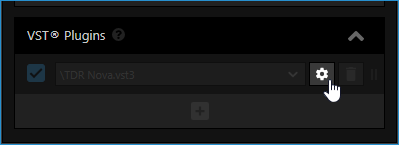
Once enabled, you can change your VST3 Plugin settings by clicking on the gear icon beside the VST3 Plugin drop-down menu.
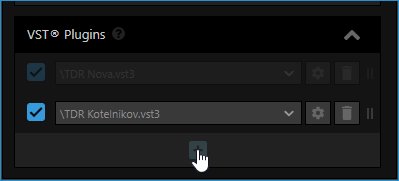
Enable more VST3 Plugins by clicking the plus icon below the VST3 Plugin drop-down menu.
Updated on: 21/02/2023
Thank you!