Using the Snipping Tool to Take Screenshots
Using the Snipping Tool to capture and send screenshots
- Press the ⊞ Windows key, then type
Snipping Toolthen select it from the search results.
- Windows 7 – Click Start > All Programs > Accessories then select Snipping Tool
.
- Windows 8 – Type
Snipping Toolon the Start Screen and then select it from the search results.
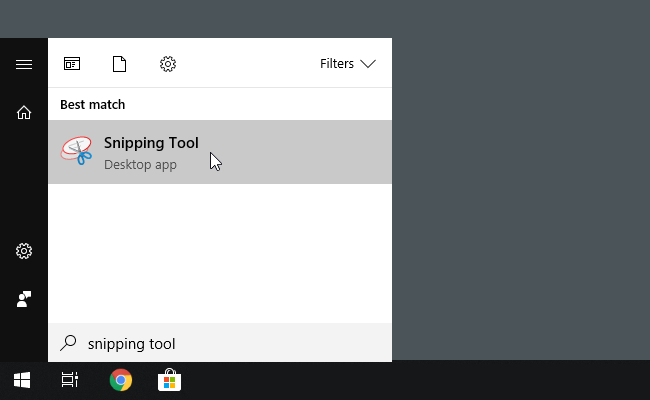
- On the Snipping Tool window, click New.
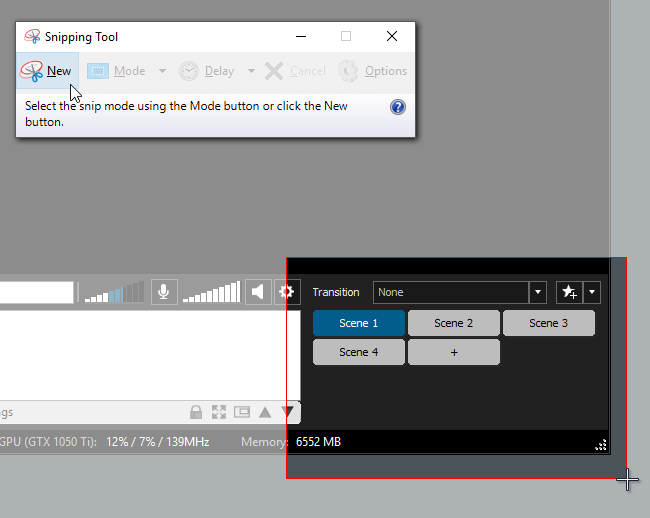
Once the screen fades, hold down the left mouse button and drag to select the area of the screen you want to capture.
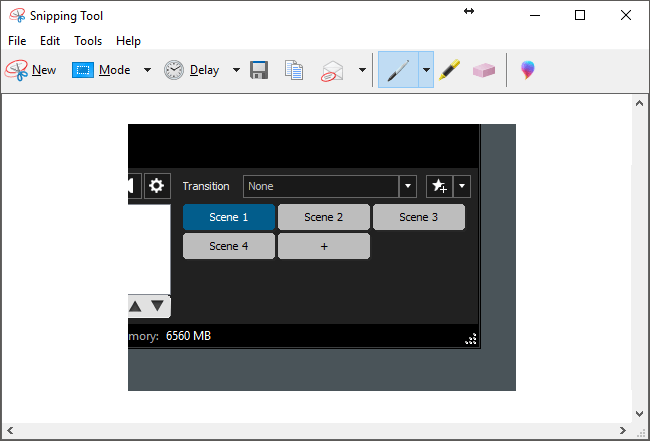
- A preview window showing the captured image will appear. This image will be automatically copied to your Windows clipboard.
- Click on the support chat bubble and the press CTRL + V to paste the image.
Click OK on the confirmation message to upload the pasted image in the support chat.

Updated on: 12/08/2022
Thank you!