Gathering Logs and Screenshots for VCam Mac
You may be requested to gather different logs and/or screenshots to help with the XSplit Support Team's efforts to fully troubleshoot the XSplit VCam Mac-related issue you might be having:
About This Mac
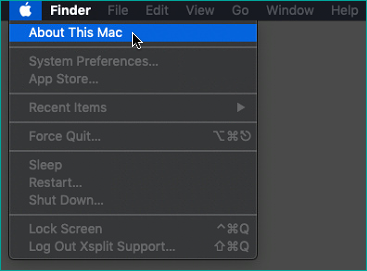
- Click the Apple Menu from the Finder menu bar then choose About this Mac.
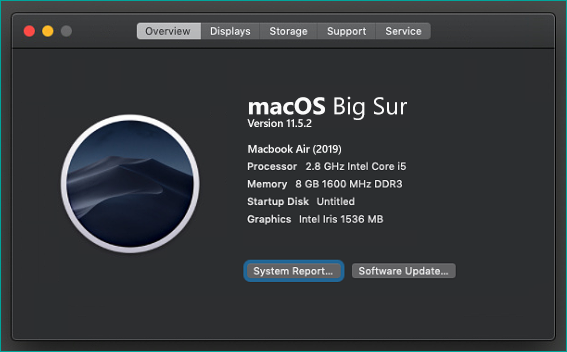
- The About this Mac popup window should appear with basic information about your MacOS version and system specs.
Installer Log
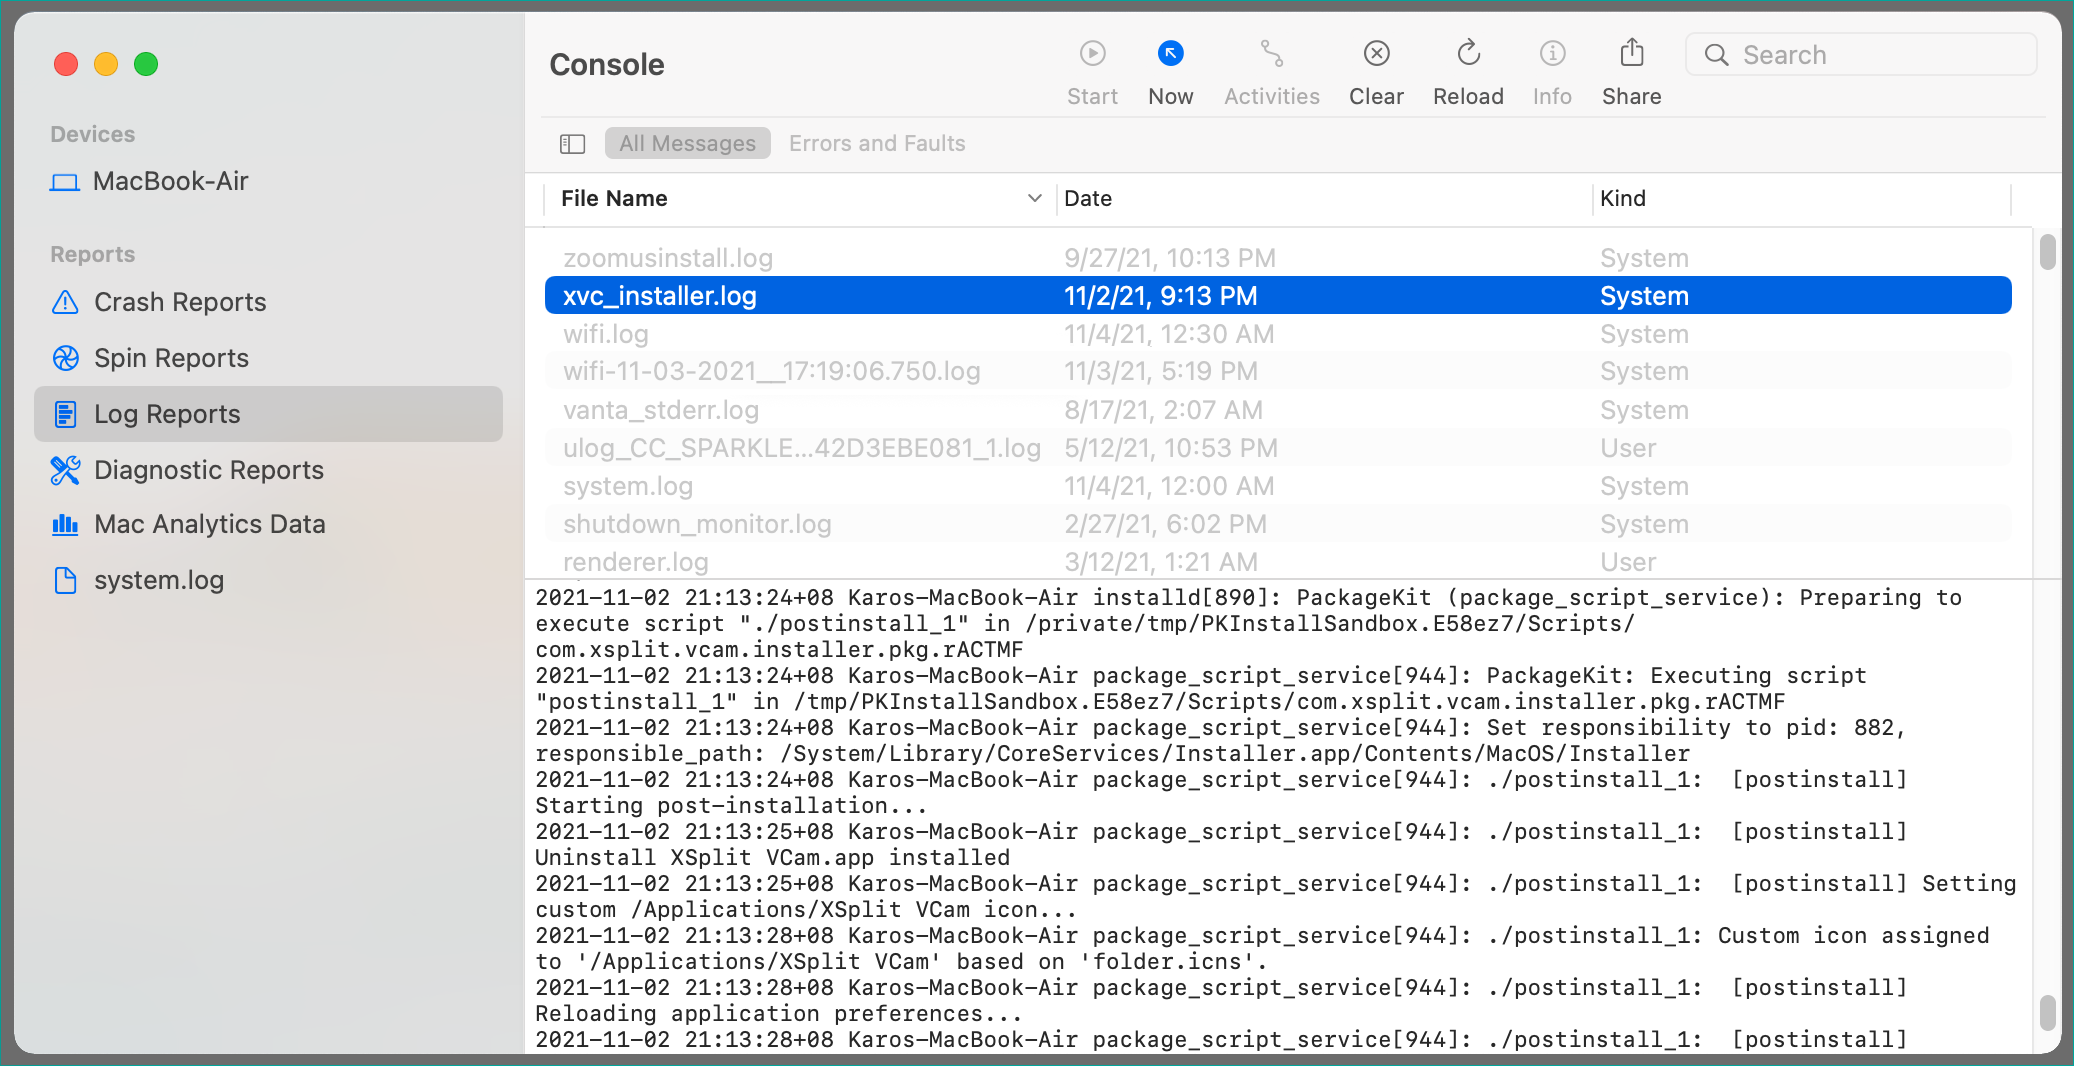
- Go to Applications > Utilities > Console
- Select Log Reports in the Sidebar.
- Look for xvc_installer.log in the list.
In many cases, Support and/or the devs may also request you to get the install.log file (also found in the Log Reports). In this case, you will have to submit two files:
- xvc_installer.log
- install.log
Alternative Method
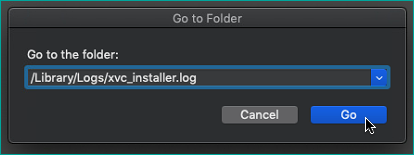
Click Go at the Finder menu bar, then select Go to Folder from the drop down menu.
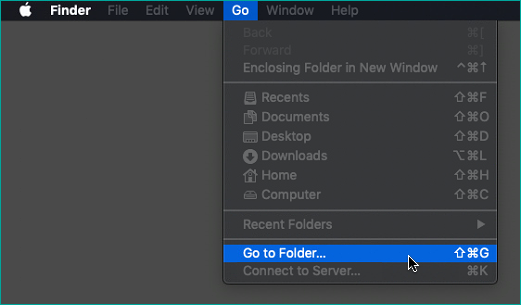
Type /Library/Logs/xvc_installer.log in the space provided then click the Go button. The System Library > Logs folder will open showing the file.
When the install.log file is also requested, type this:_
/var/log/install.log then click the Go button.
Debug Log
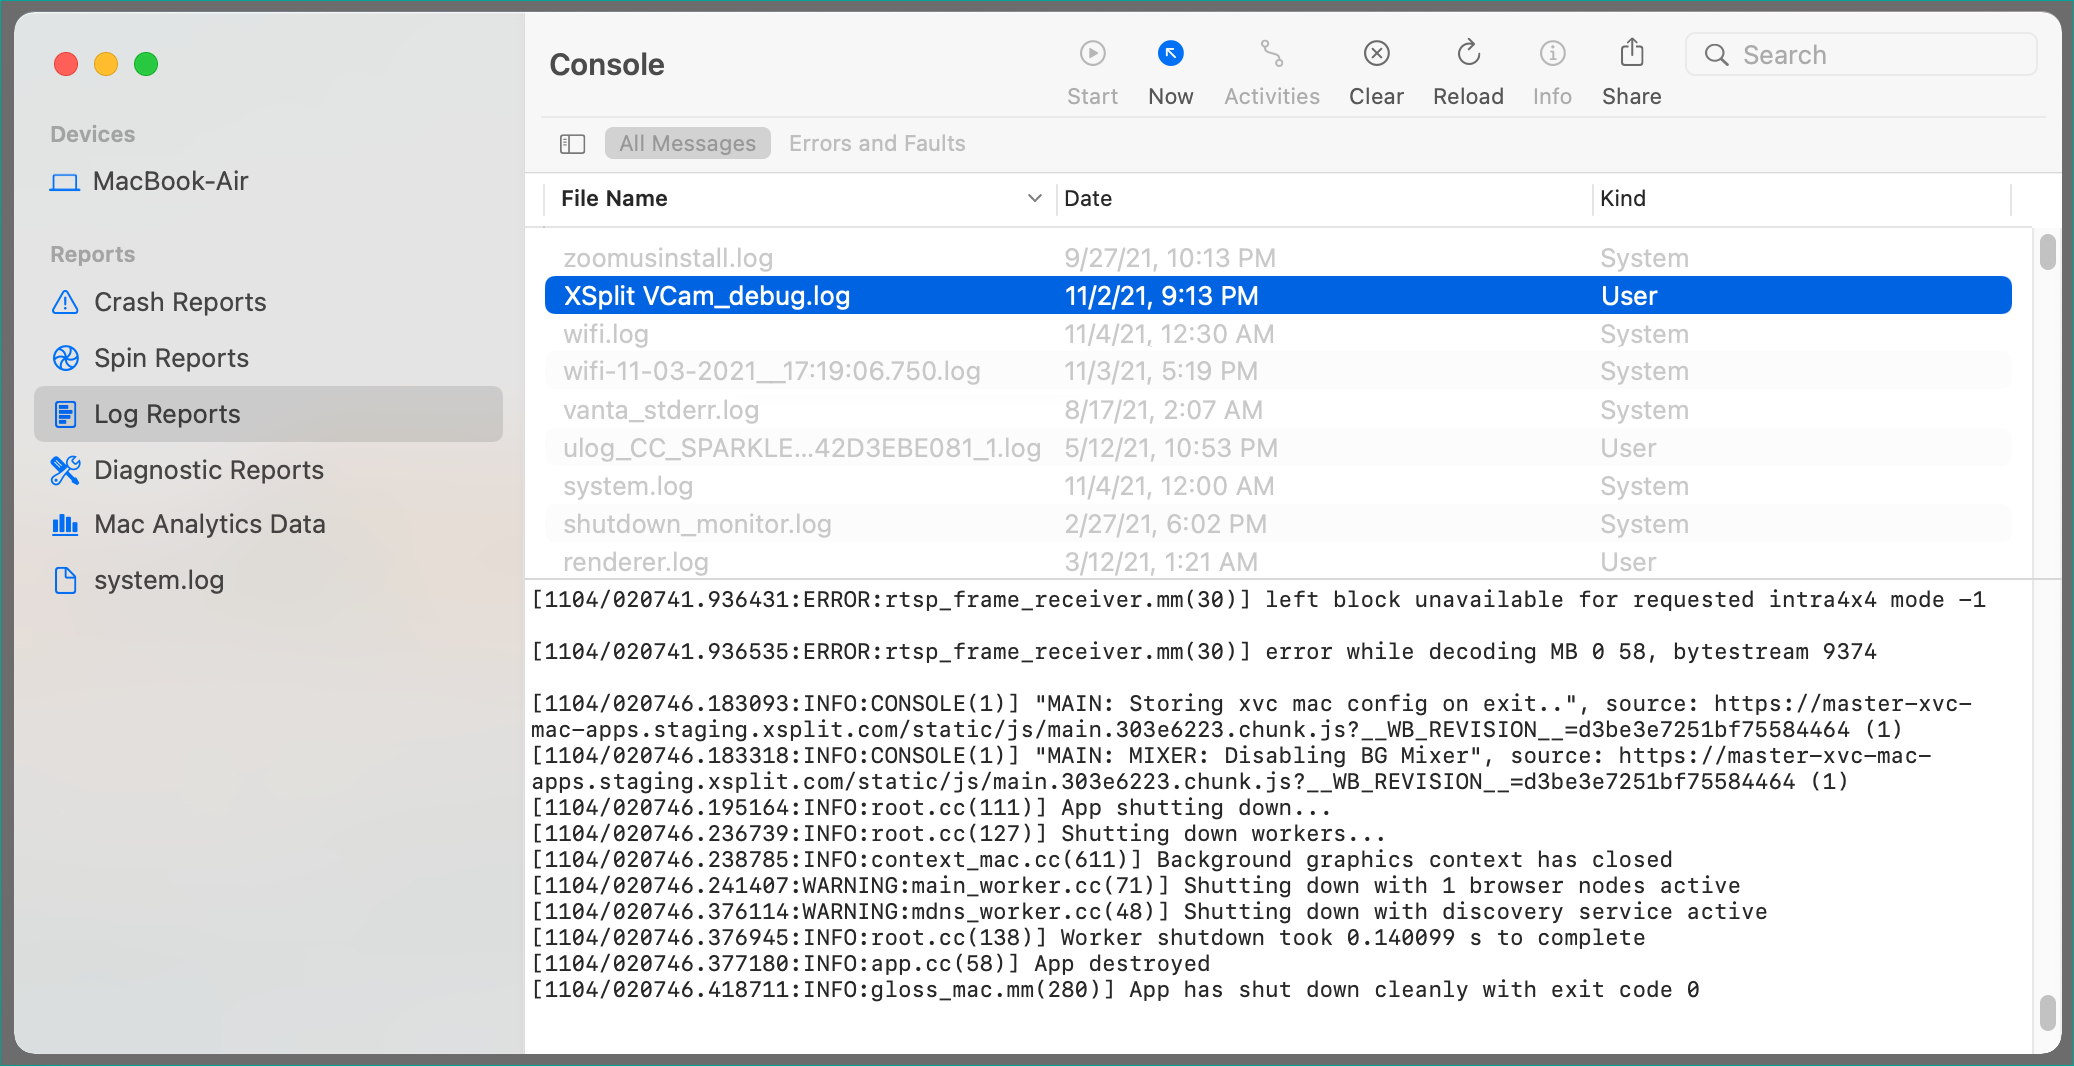
- Go to Applications > Utilities > Console
- Select Log Reports in the Sidebar.
- Look for XSplit VCam_debug.log in the list.
Alternative Method
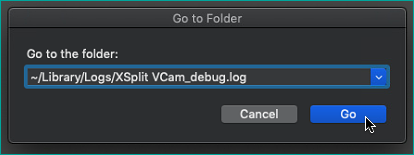
Click Go at the Finder menu bar, then select Go to Folder from the drop down menu.

Type ~/Library/Logs/XSplit VCam_debug.log in the space provided then click the Go button. The User Library > Logs folder will open showing the file.
Crash Log
- Go to Applications > Utilities > Console
- Select Crash Reports in the Sidebar.
- Look for XSplit VCam in the list.

Alternative Method
Click Go at the Finder menu bar, then select Go to Folder from the drop down menu.
Type ~/Library/Logs/DiagnosticReports/ in the space provided then click the Go button. The User Library > Logs > DiagnosticReports folder will open. Search for the file with "XSplit VCam" in the filename.


Updated on: 28/10/2025
Thank you!